Quick Start
Here you will find out briefly how to set up and use Flasher correctly. You can find more details on how to use your turn signal armbands in our explanatory videos below.
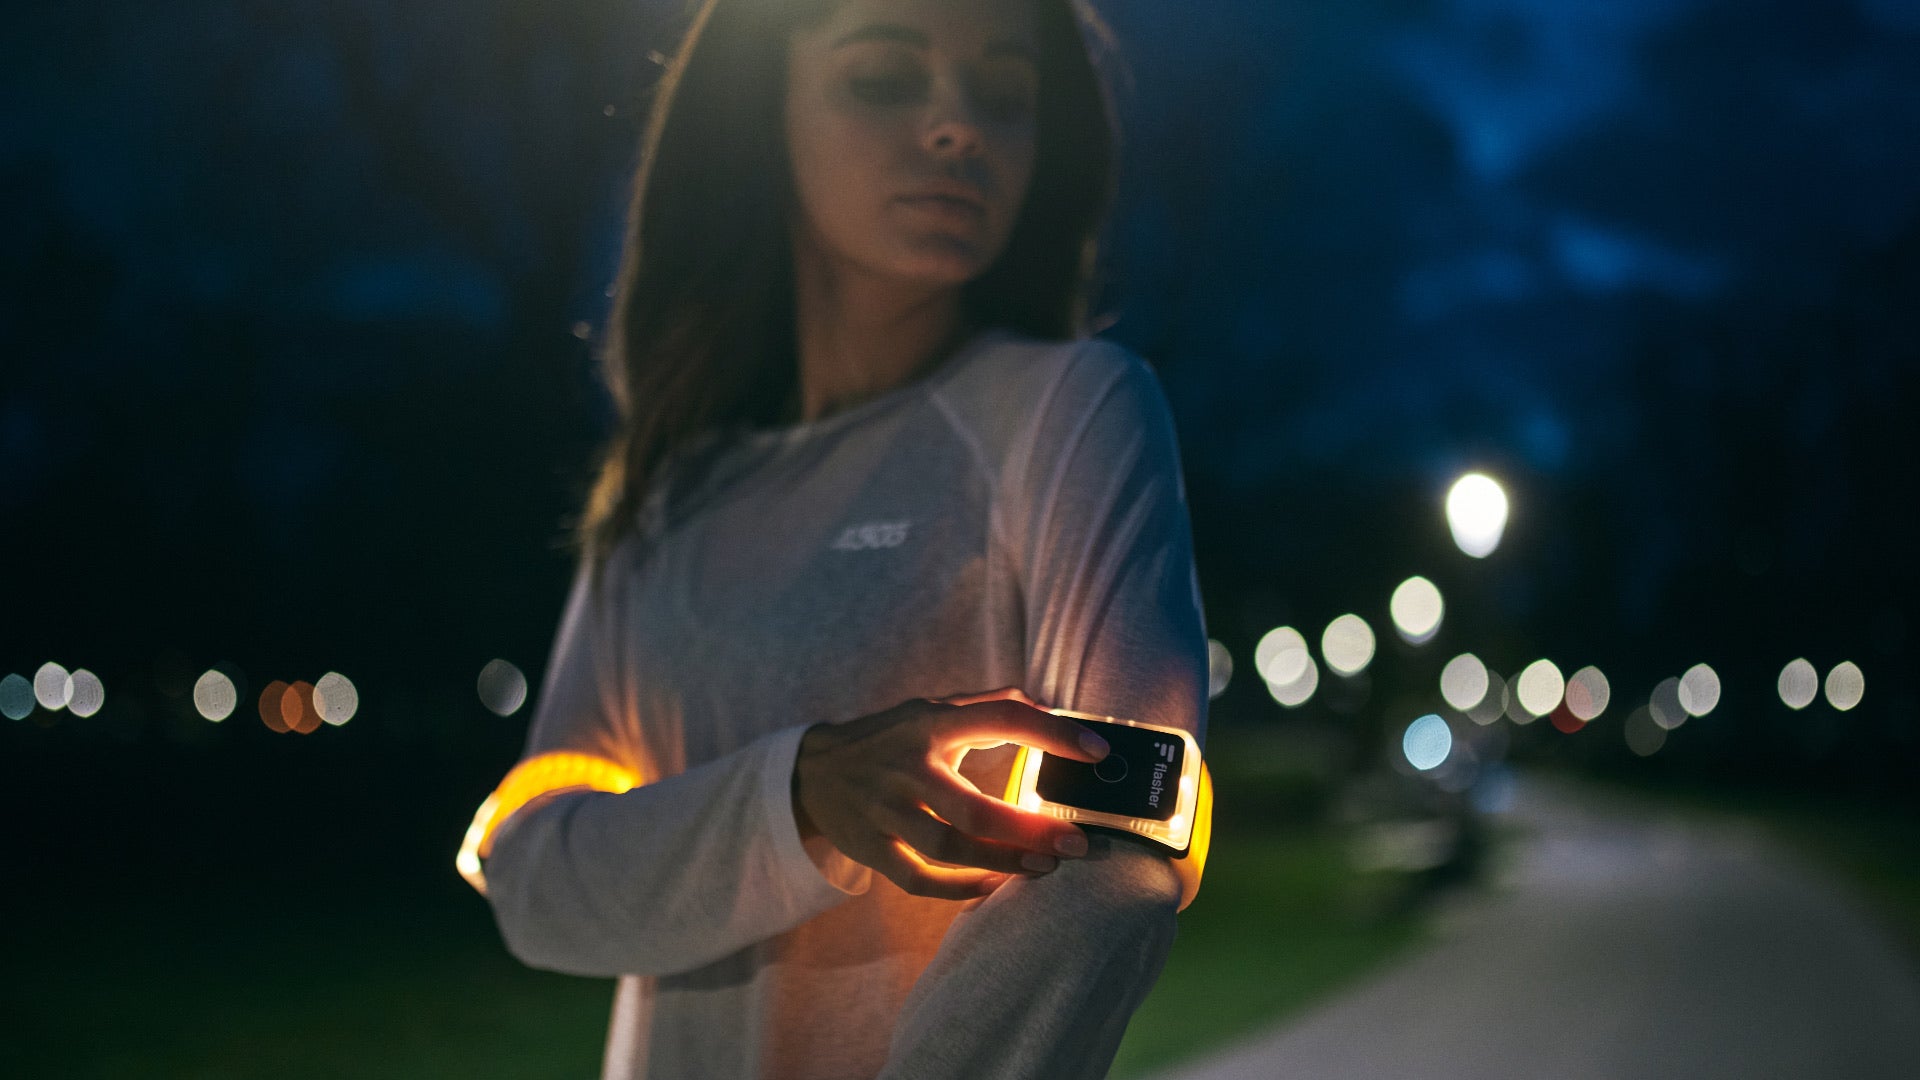
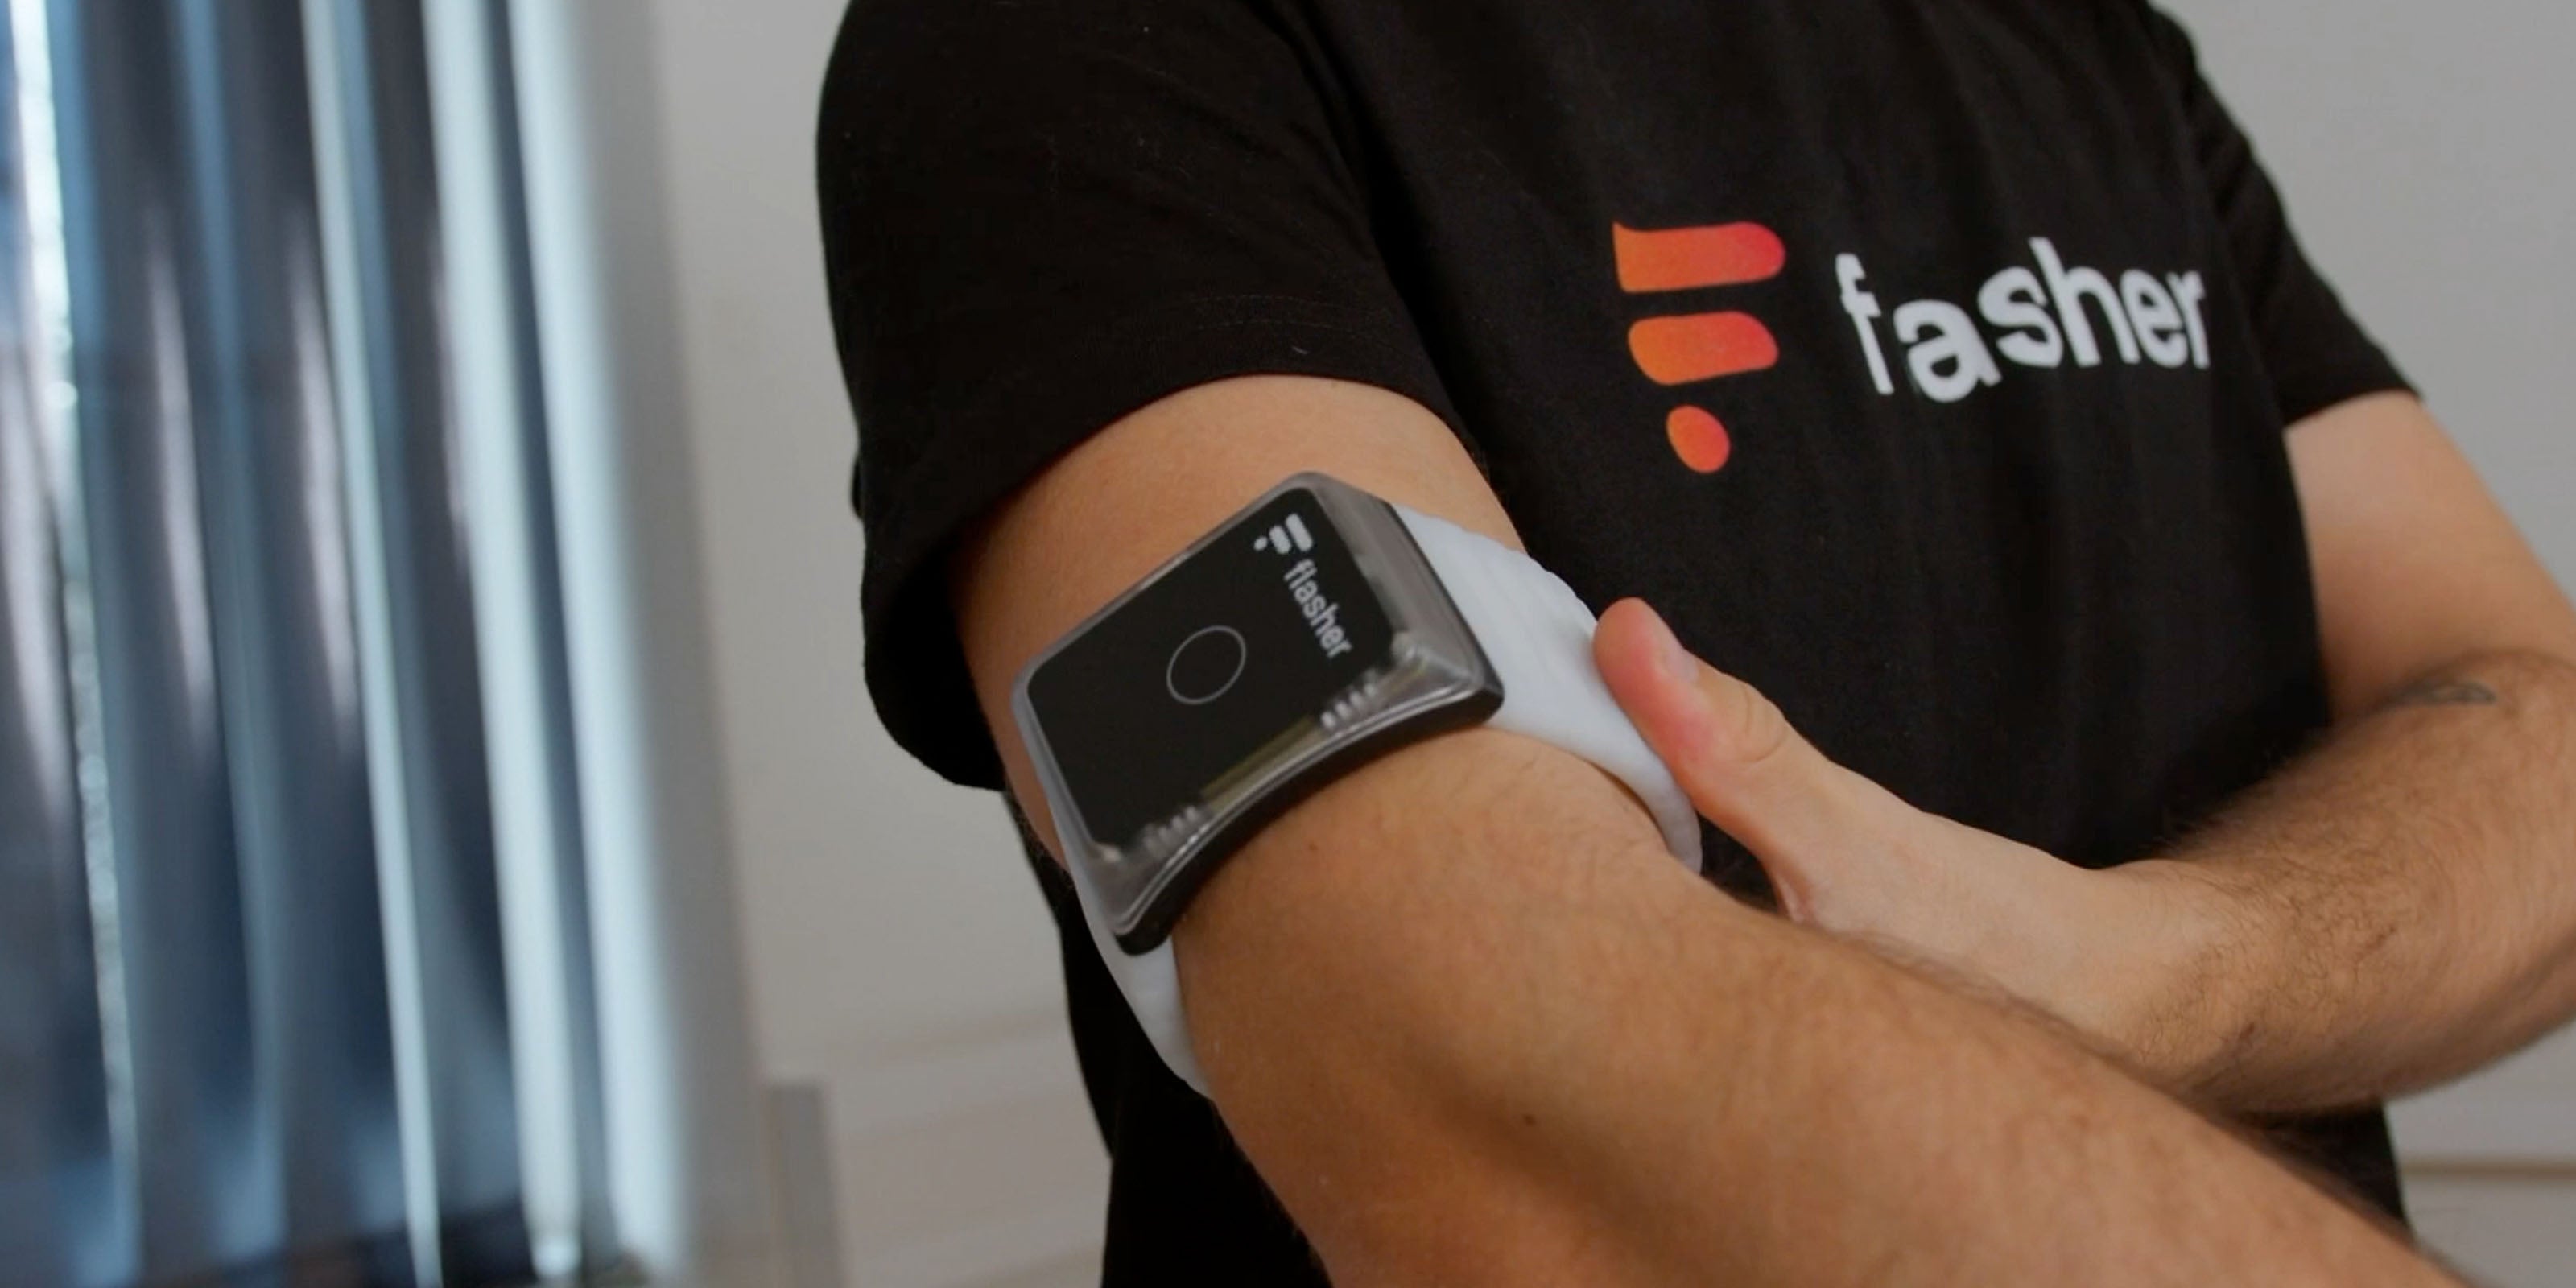
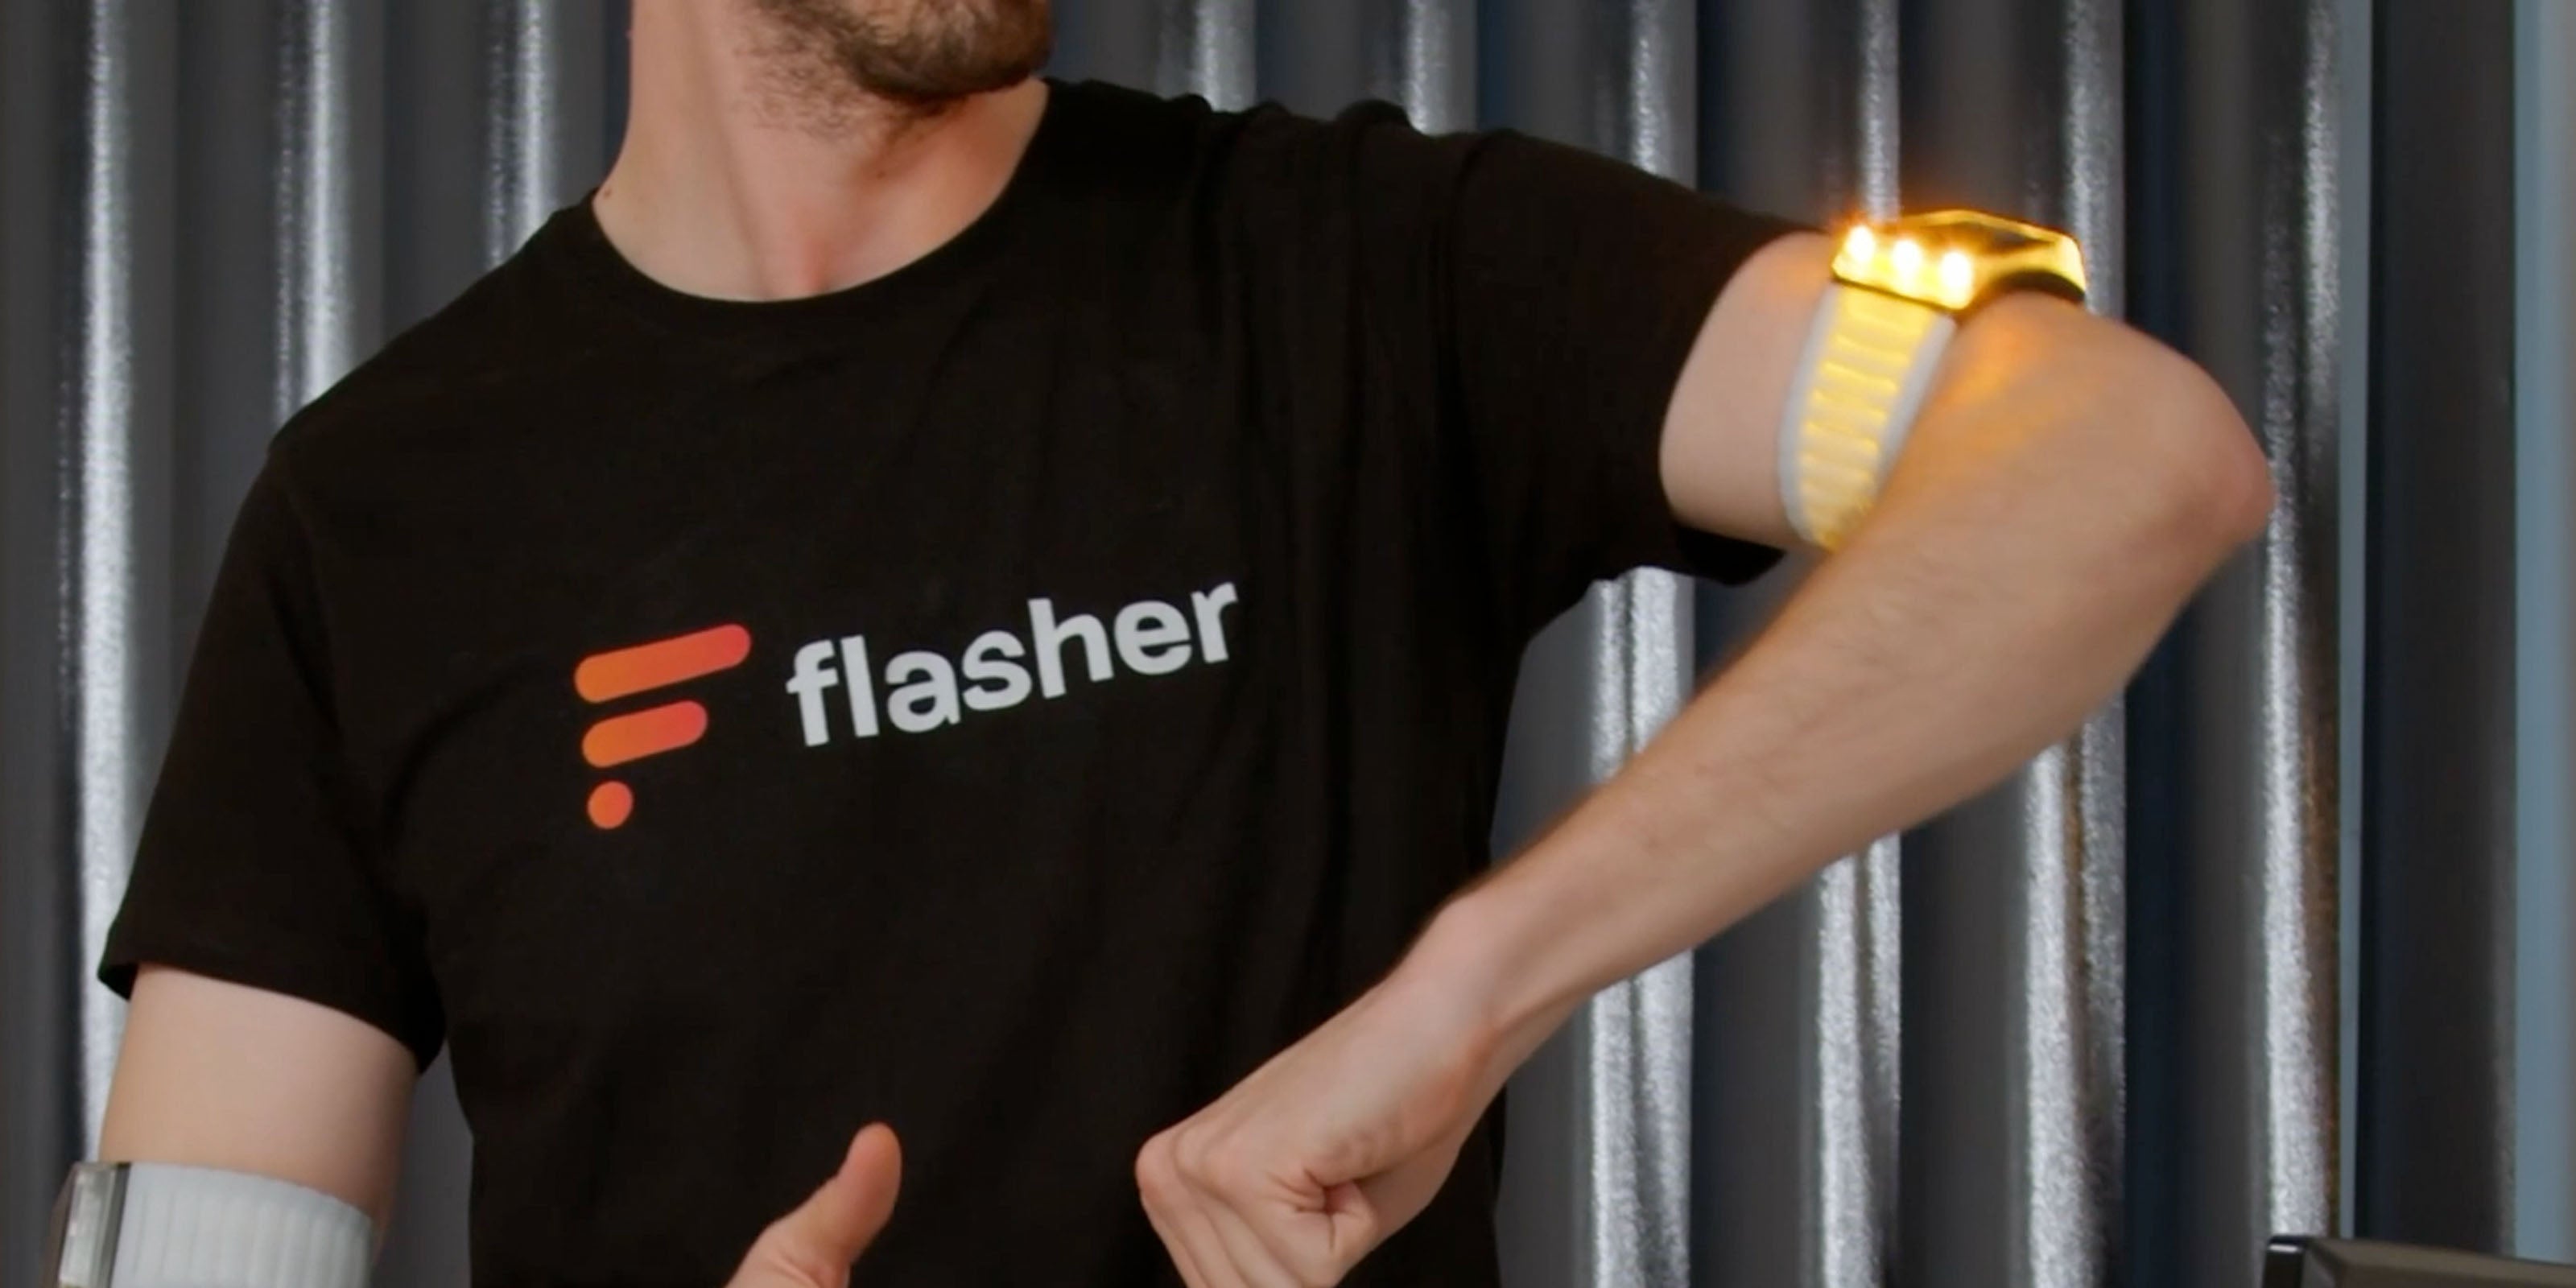
Thanks to the patented fastening mechanism, you can quickly and easily snap the Flasher armbands onto your upper arm just above your elbow. Make sure the lights are pointing straight forward or back when your arms hang by your side. If necessary, turn the armbands forward a little. That way the indicators will be particularly easy to activate.
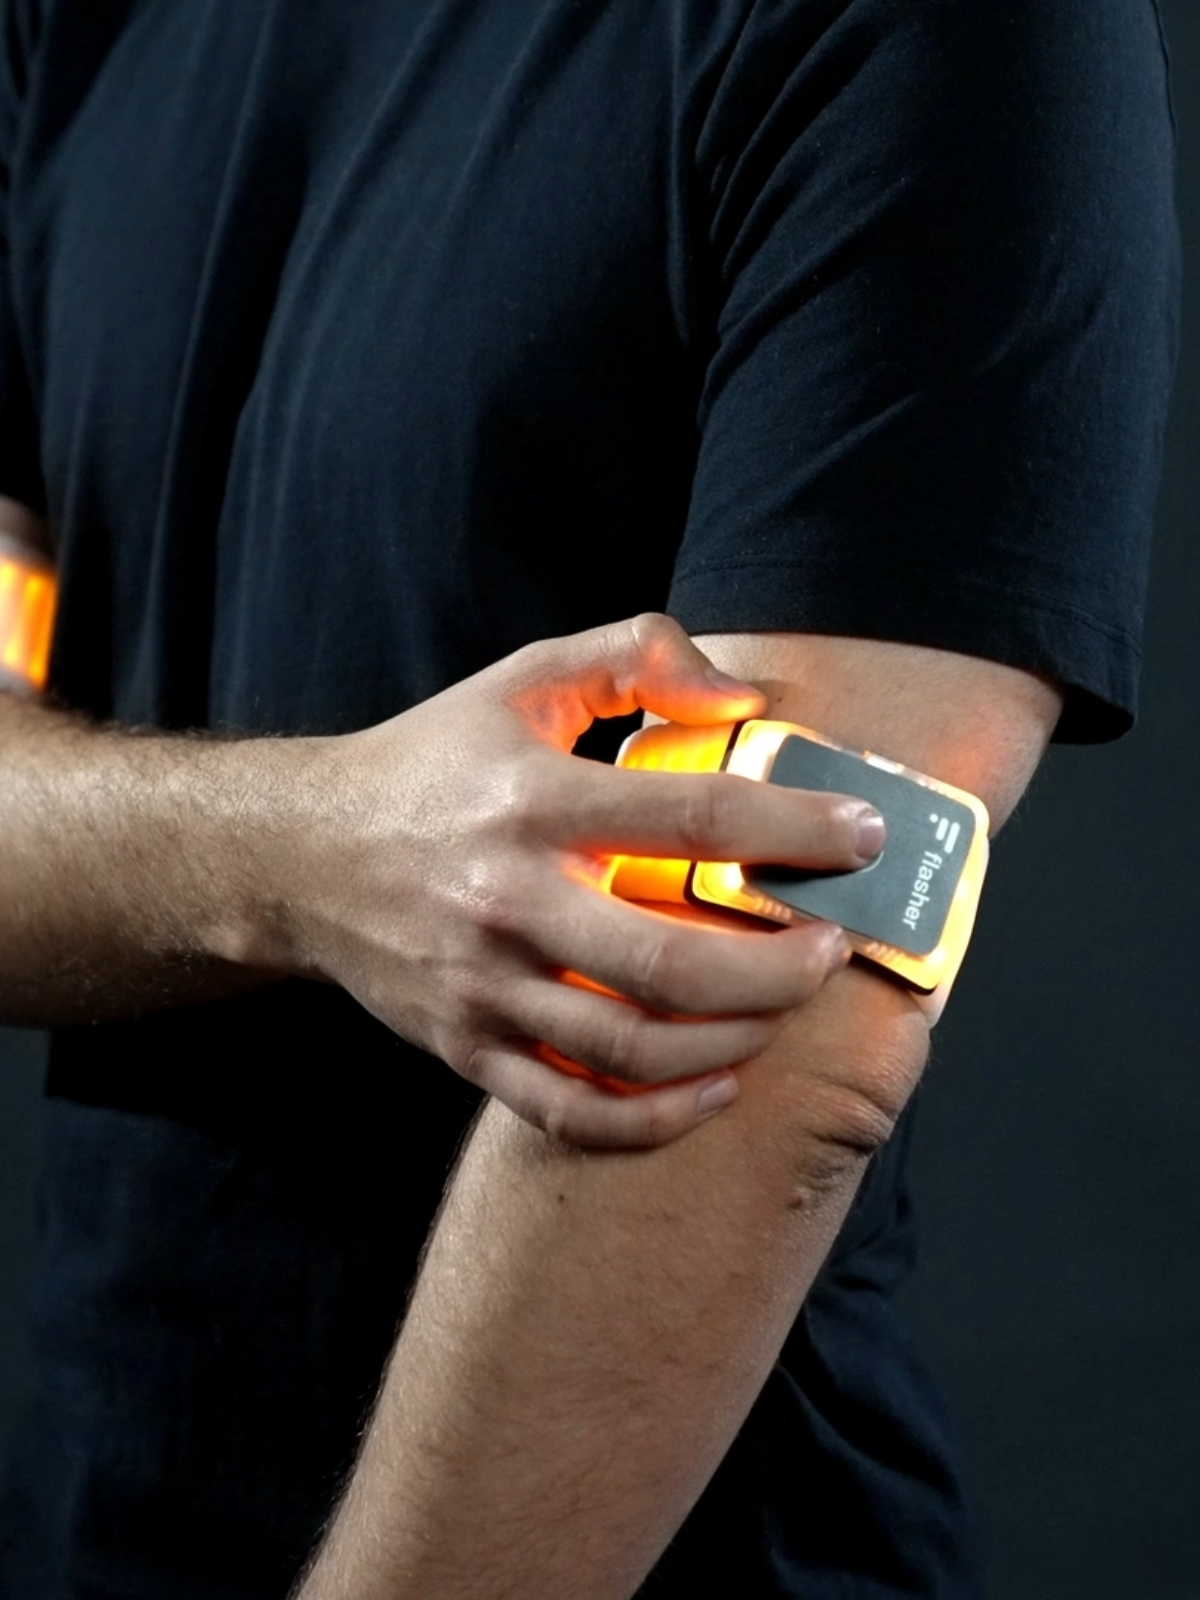
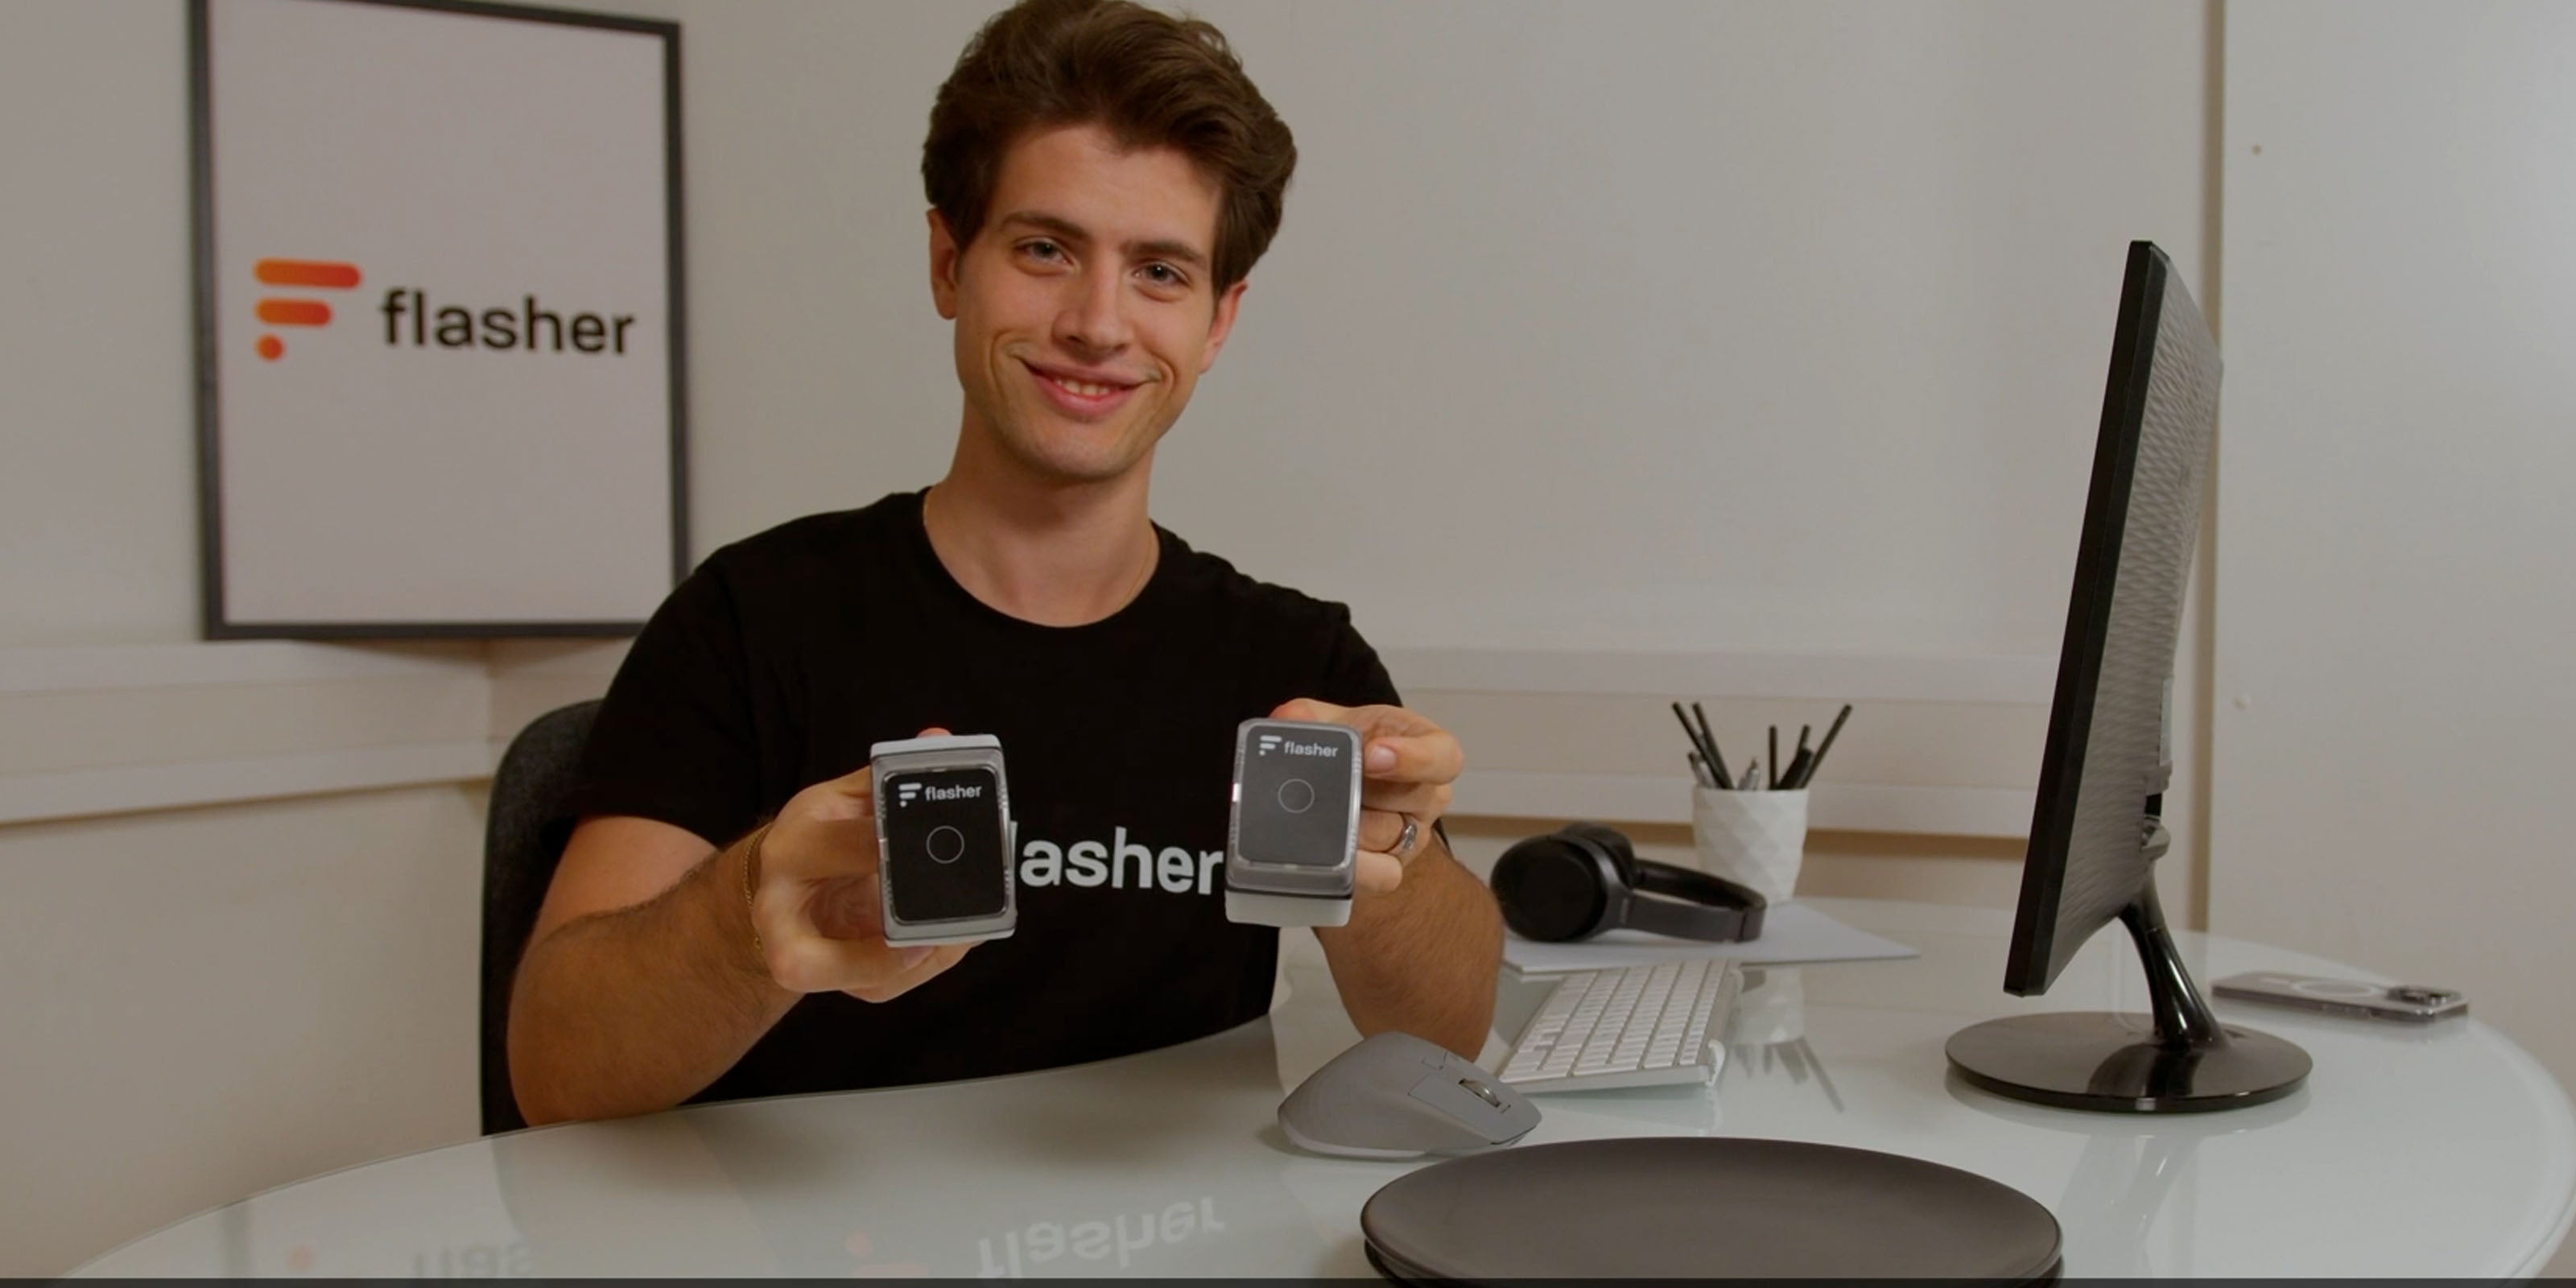
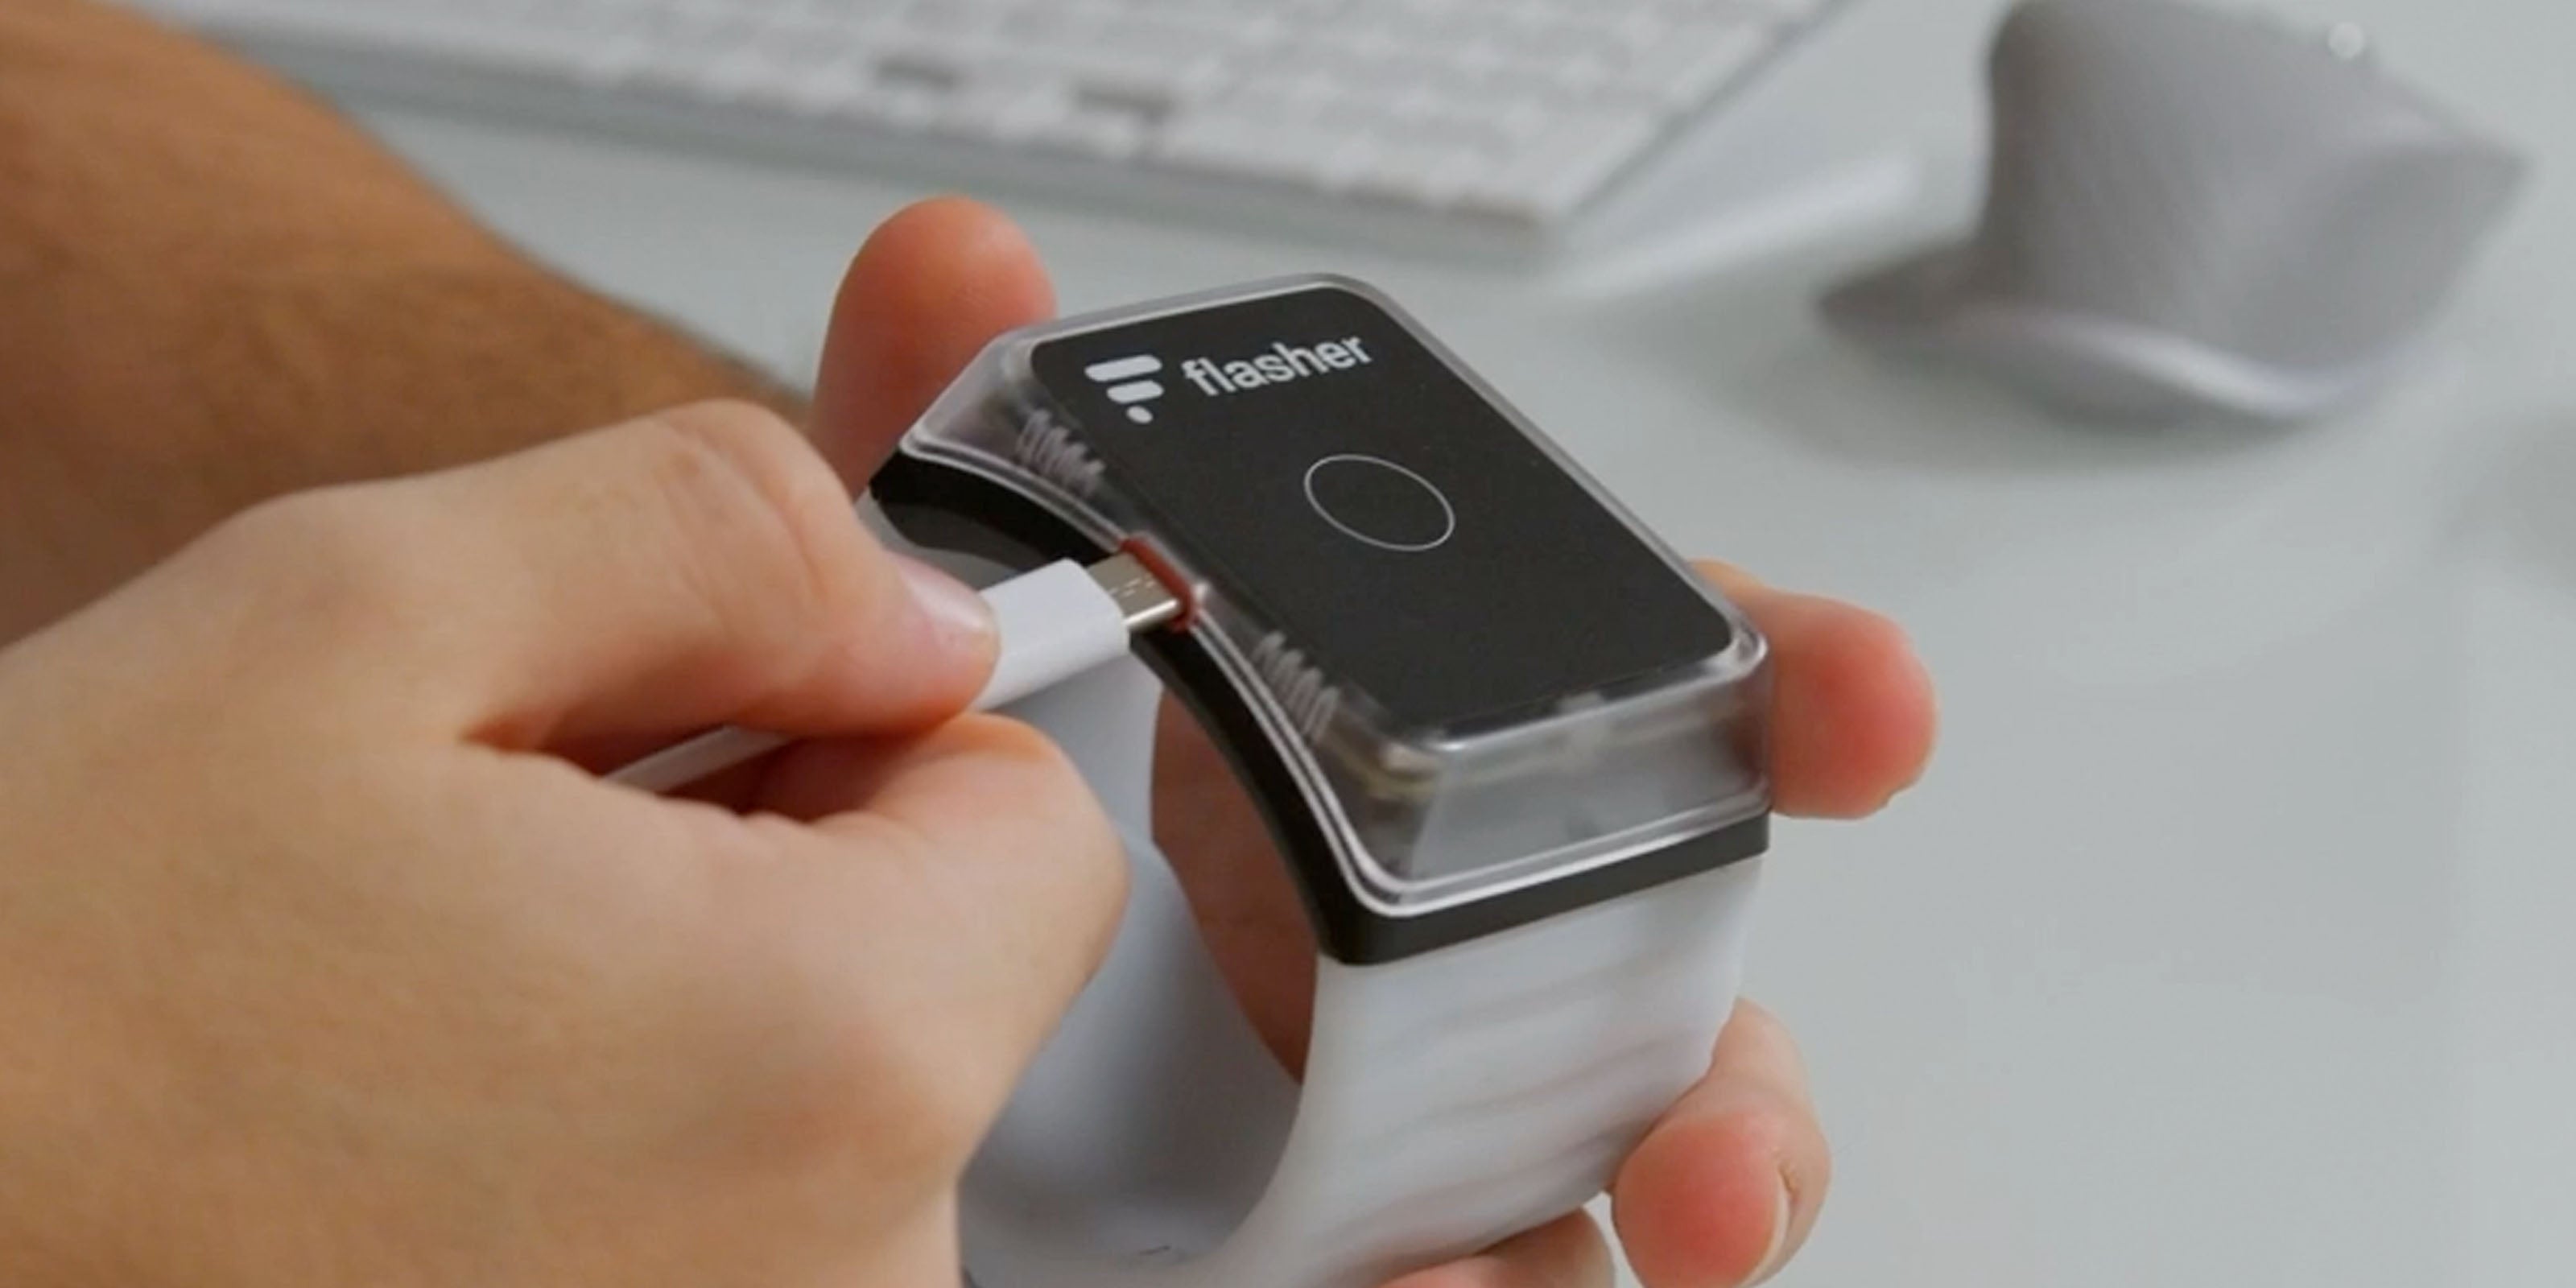
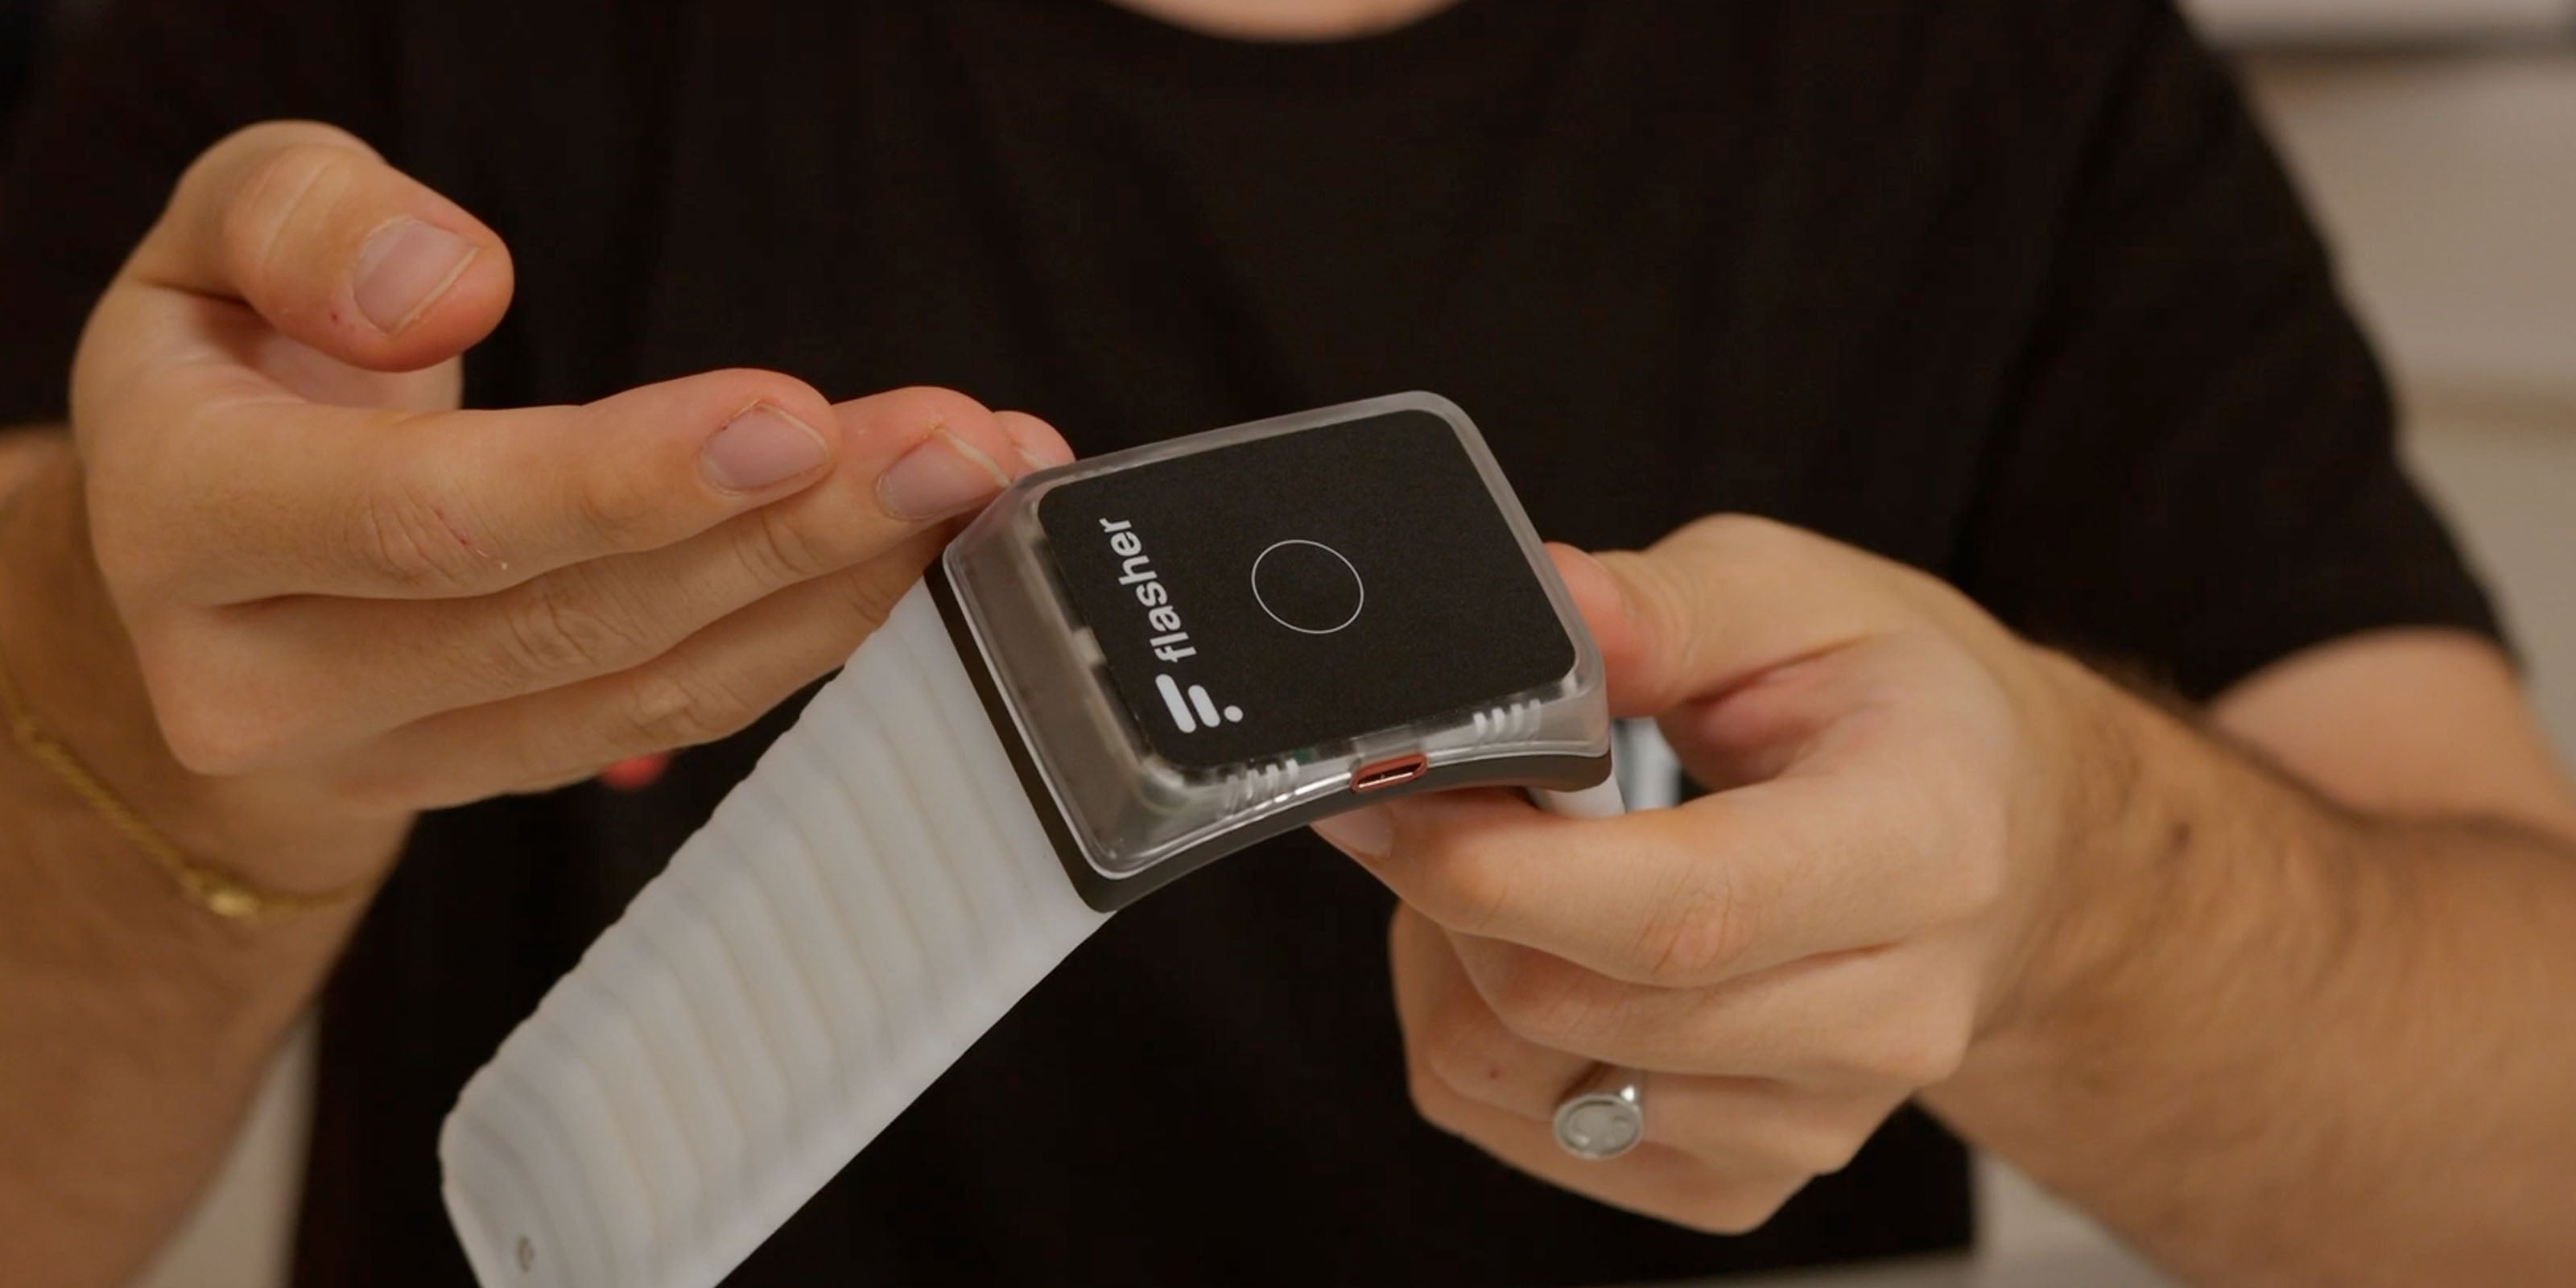
Press the button on both armbands firmly to turn them on. Each armband vibrates once as soon as it is switched on and briefly shows you the battery level via LED. IMPORTANT: Don't be afraid to press really hard. The button is designed to be hard to press so that the armbands cannot turn on by themselves when you carry them in your bag.
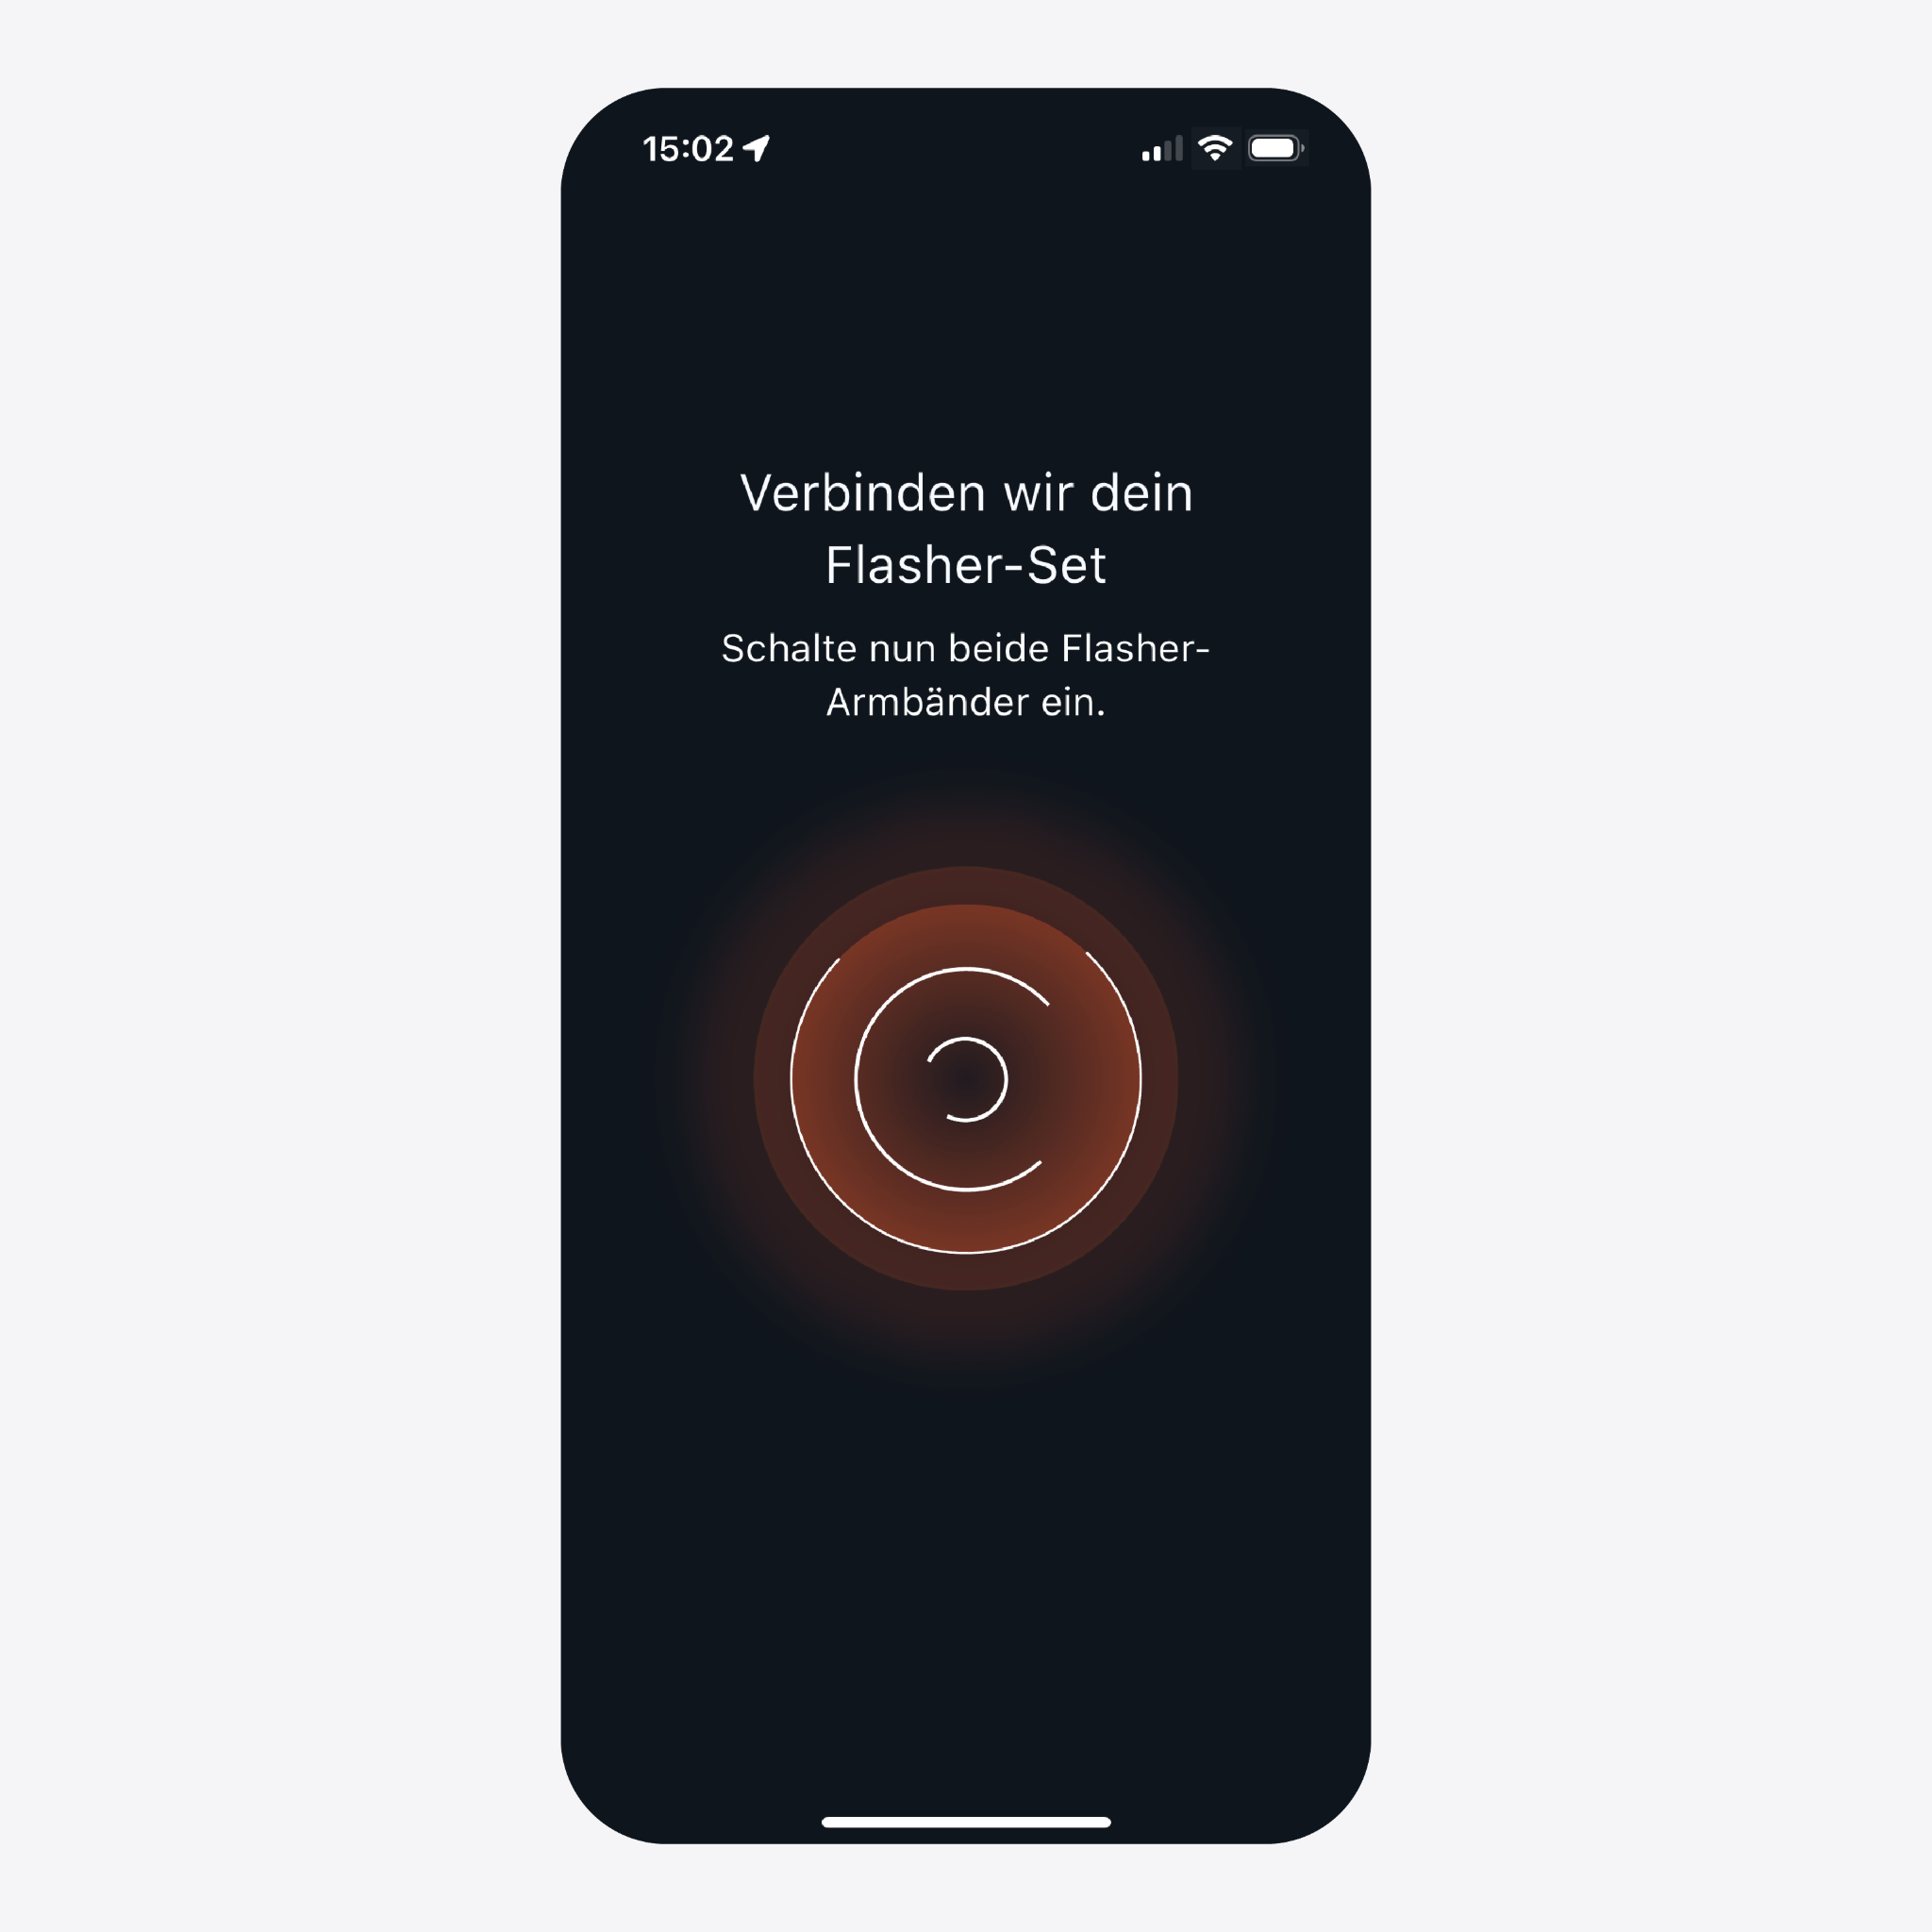
The two armbands are smart and automatically connect to each other. To do this, you have to switch on both armbands within two minutes. Once connected, they act in tandem. If you change the mode on one armband, the other automatically changes with it. If you turn one off, the other turns off too.
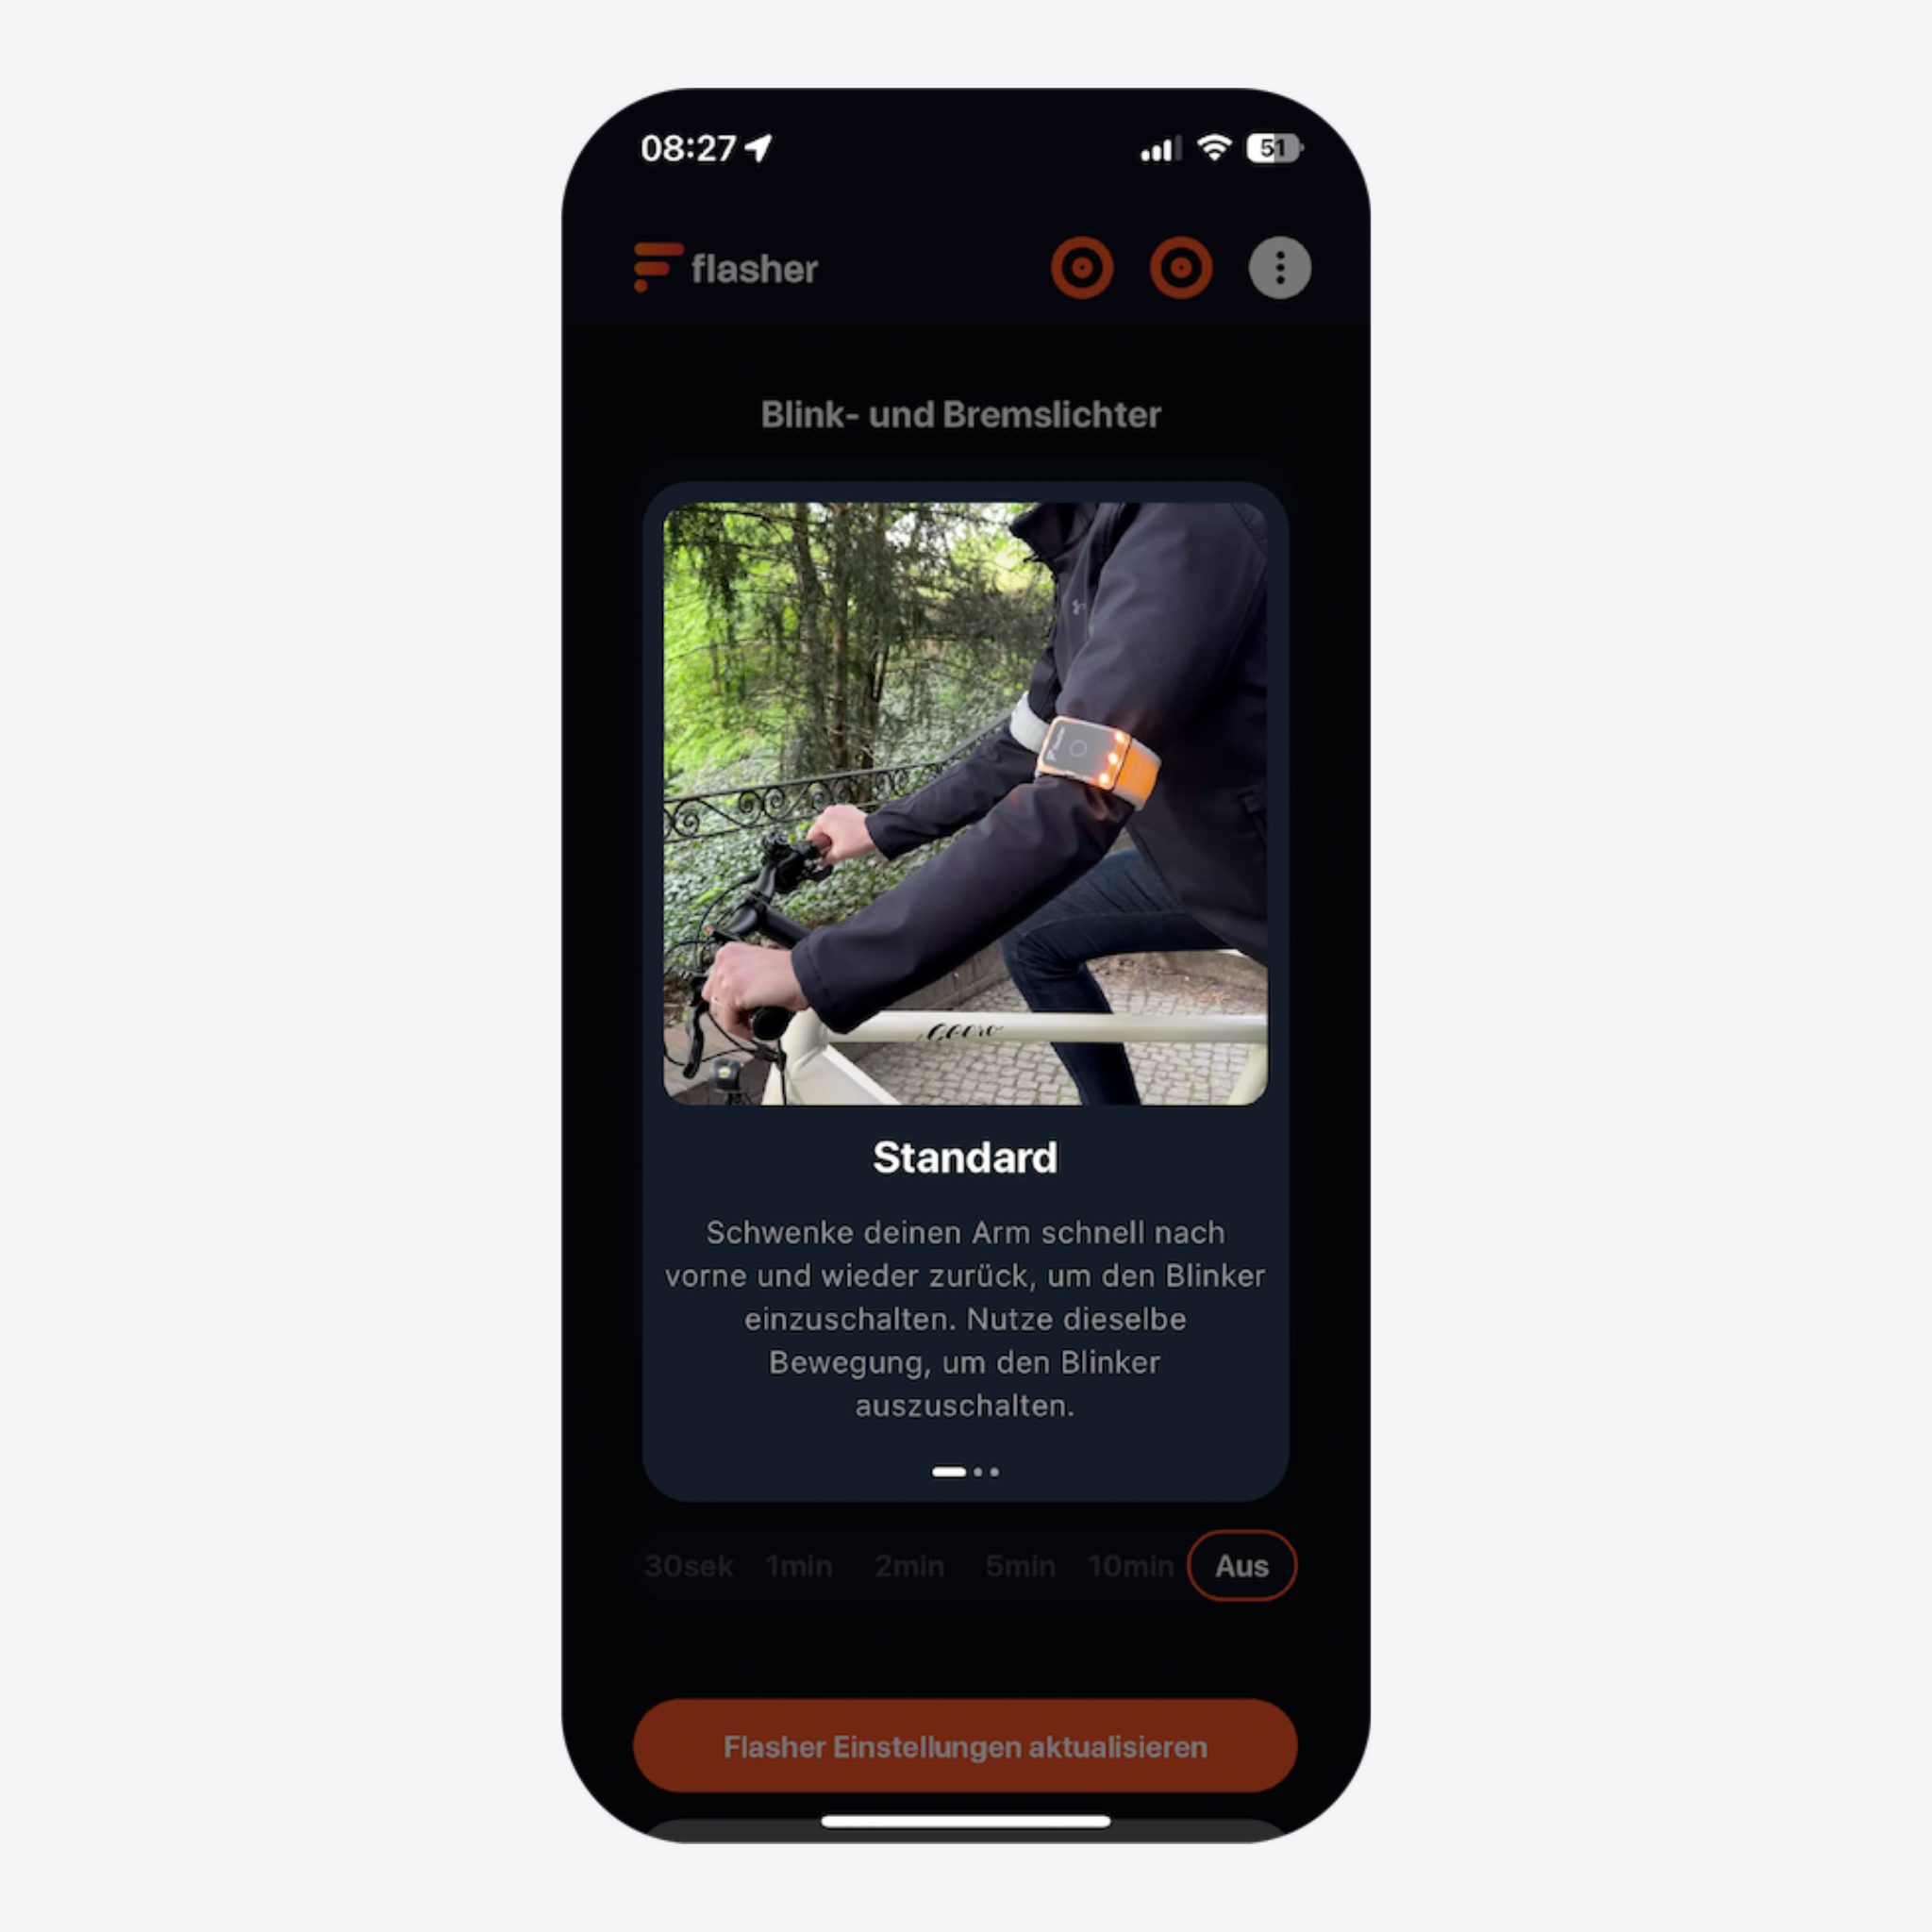
You activate Flasher's turn signal by swinging your elbow forward and up. IMPORTANT: Always keep both hands on the handlebars. The armband vibrates to let you know the turn signal is on. By the way, there are two different ways you can indicate with Flasher: short and long. Find out more in the video below or in our Questions & Answers .
You can also get the armbands off your arms quickly and easily. To do this, simply grab the hard part in the middle and pull it off your arm. Don't worry, they are really sturdy. You can't break anything here.
Whether you turn them off before or after is a matter of taste. You can tell that they are switched off when each armband briefly vibrates twice.
Thanks to the patented fastening mechanism, you can quickly and easily snap the Flasher armbands onto your upper arm just above your elbow. Make sure the lights are pointing straight forward or back when your arms hang by your side. If necessary, turn the armbands forward a little. That way the indicators will be particularly easy to activate.
Press the button on both armbands firmly to turn them on. Each armband vibrates once as soon as it is switched on and briefly shows you the battery level via LED. IMPORTANT: Don't be afraid to press really hard. The button is designed to be hard to press so that the armbands cannot turn on by themselves when you carry them in your bag.
The two armbands are smart and automatically connect to each other. To do this, you have to switch on both armbands within two minutes. Once connected, they act in tandem. If you change the mode on one armband, the other automatically changes with it. If you turn one off, the other turns off too.
You activate Flasher's turn signal by swinging your elbow forward and up. IMPORTANT: Always keep both hands on the handlebars. The armband vibrates to let you know the turn signal is on. By the way, there are two different ways you can indicate with Flasher: short and long. Find out more in the video below or in our Questions & Answers .
You can also get the armbands off your arms quickly and easily. To do this, simply grab the hard part in the middle and pull it off your arm. Don't worry, they are really sturdy. You can't break anything here.
Whether you turn them off before or after is a matter of taste. You can tell that they are switched off when each armband briefly vibrates twice.
‼️ NEW ‼️
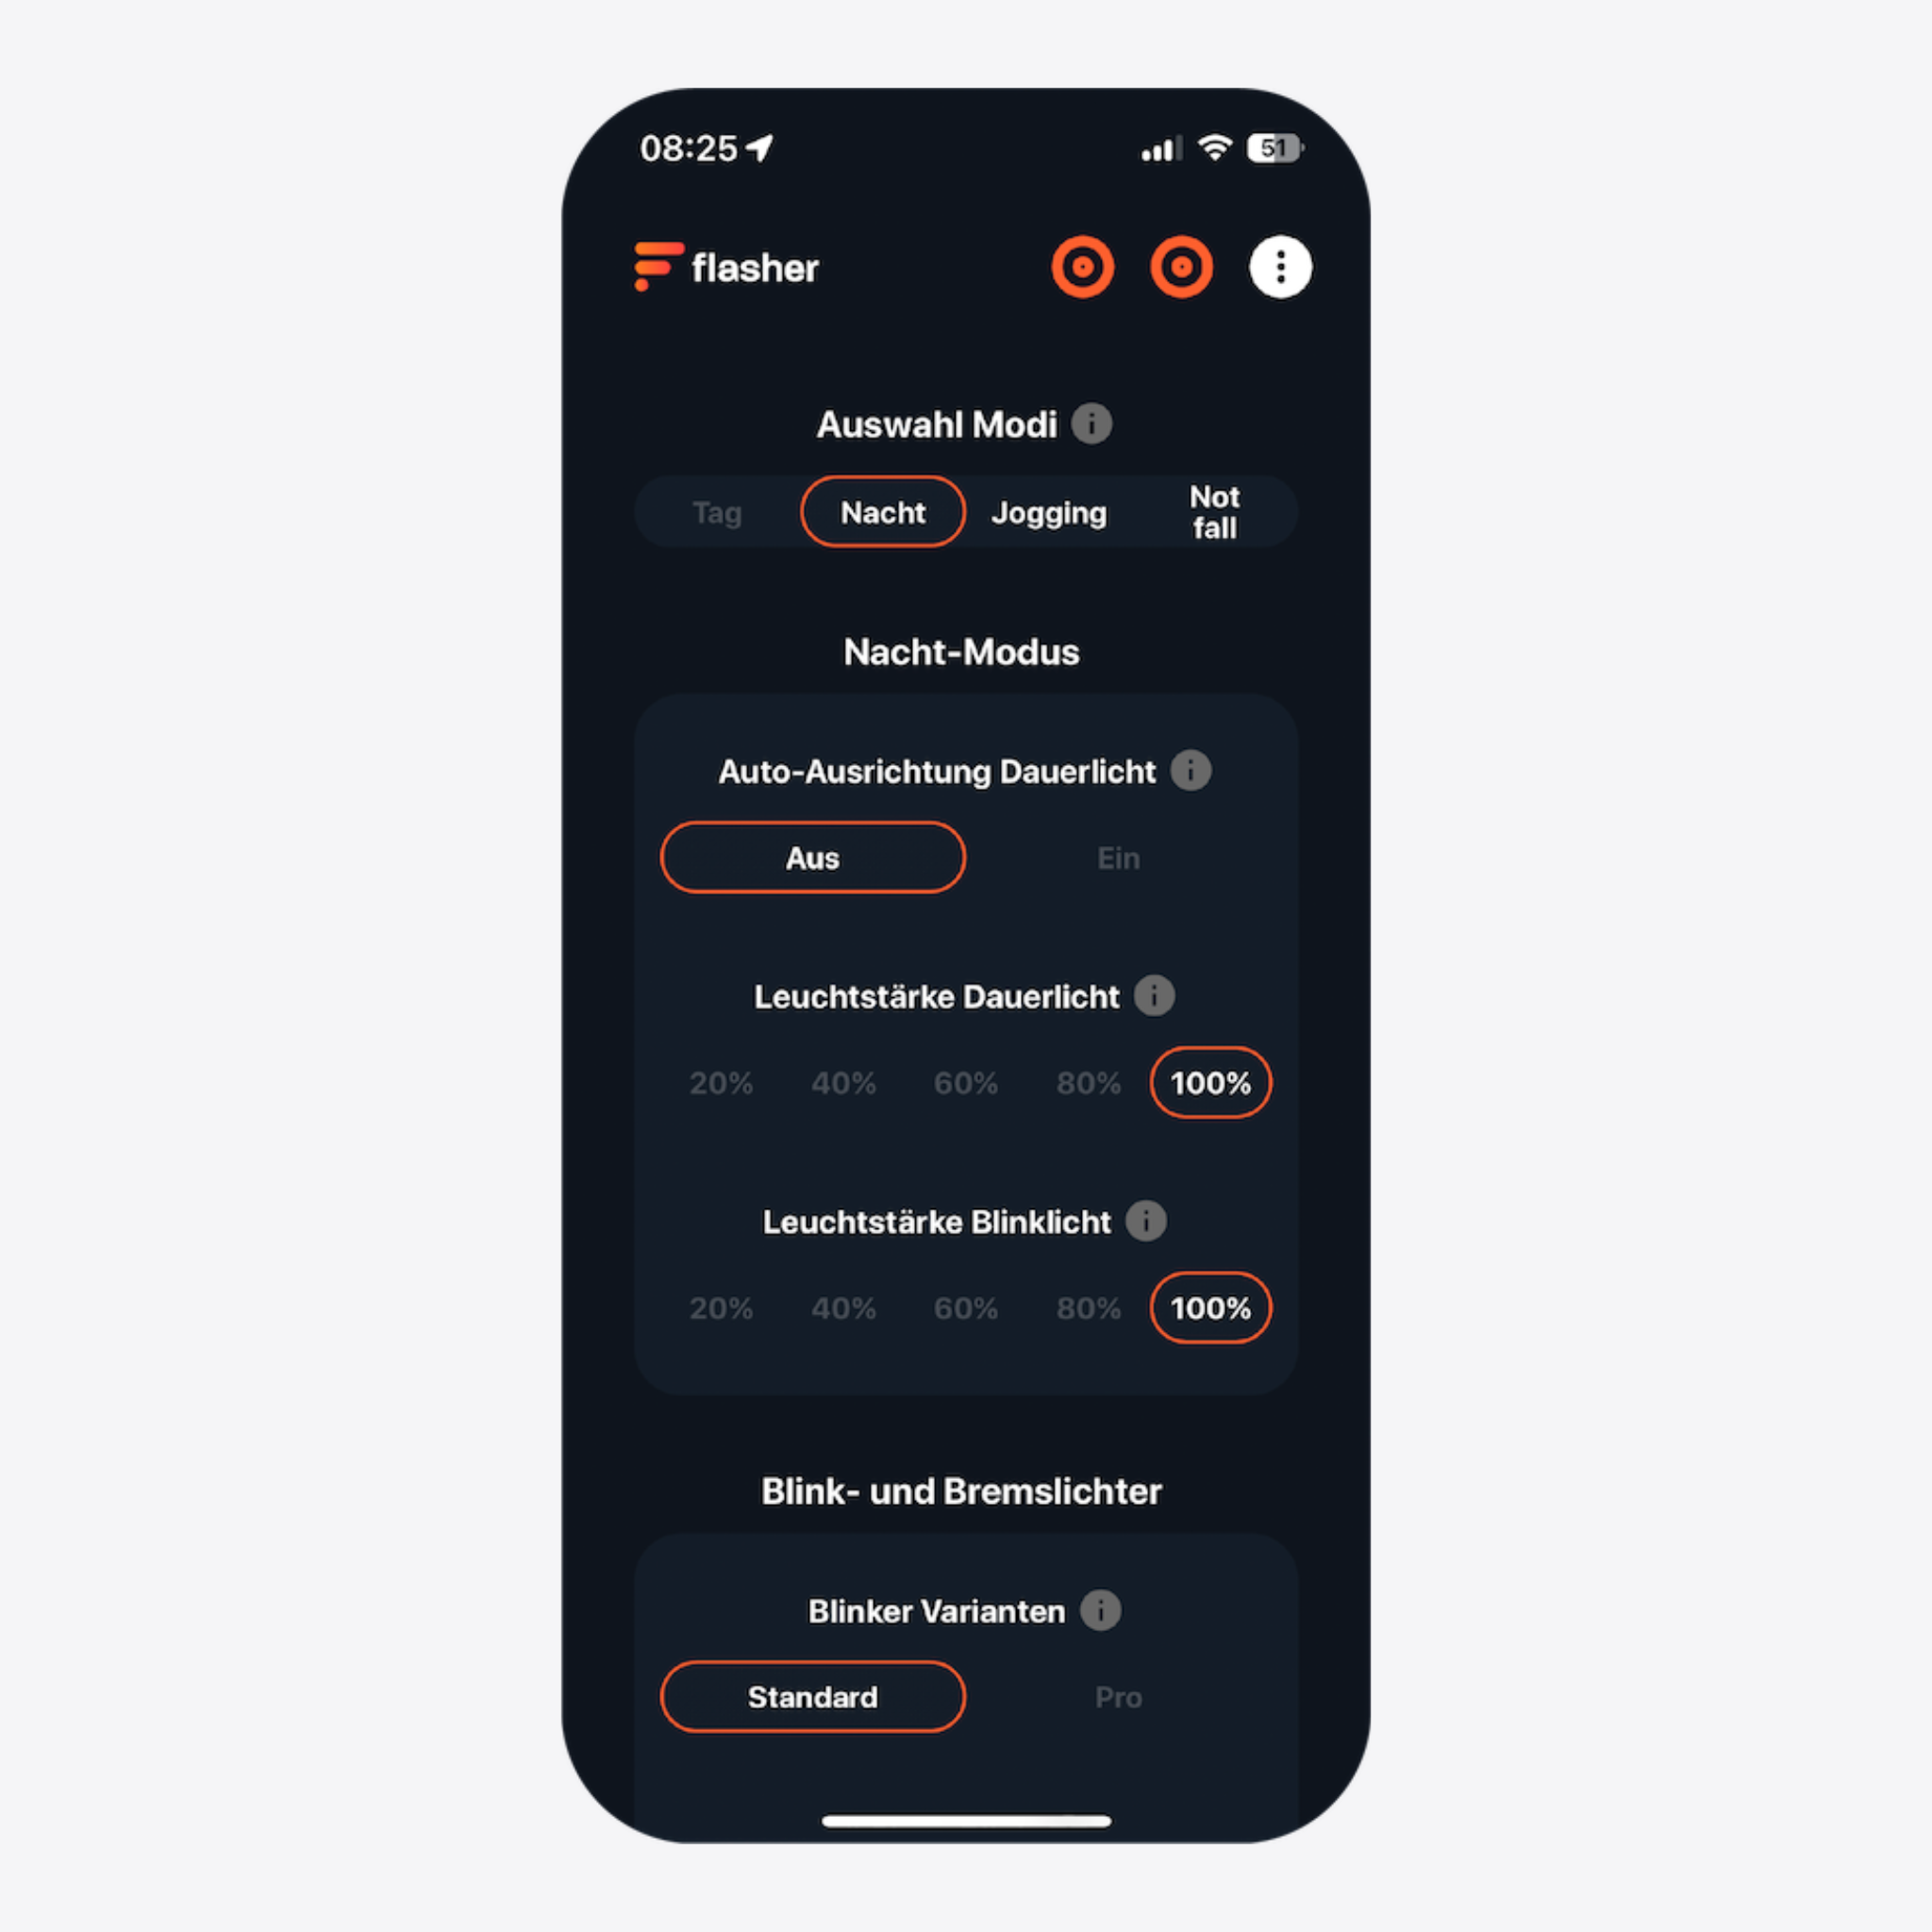
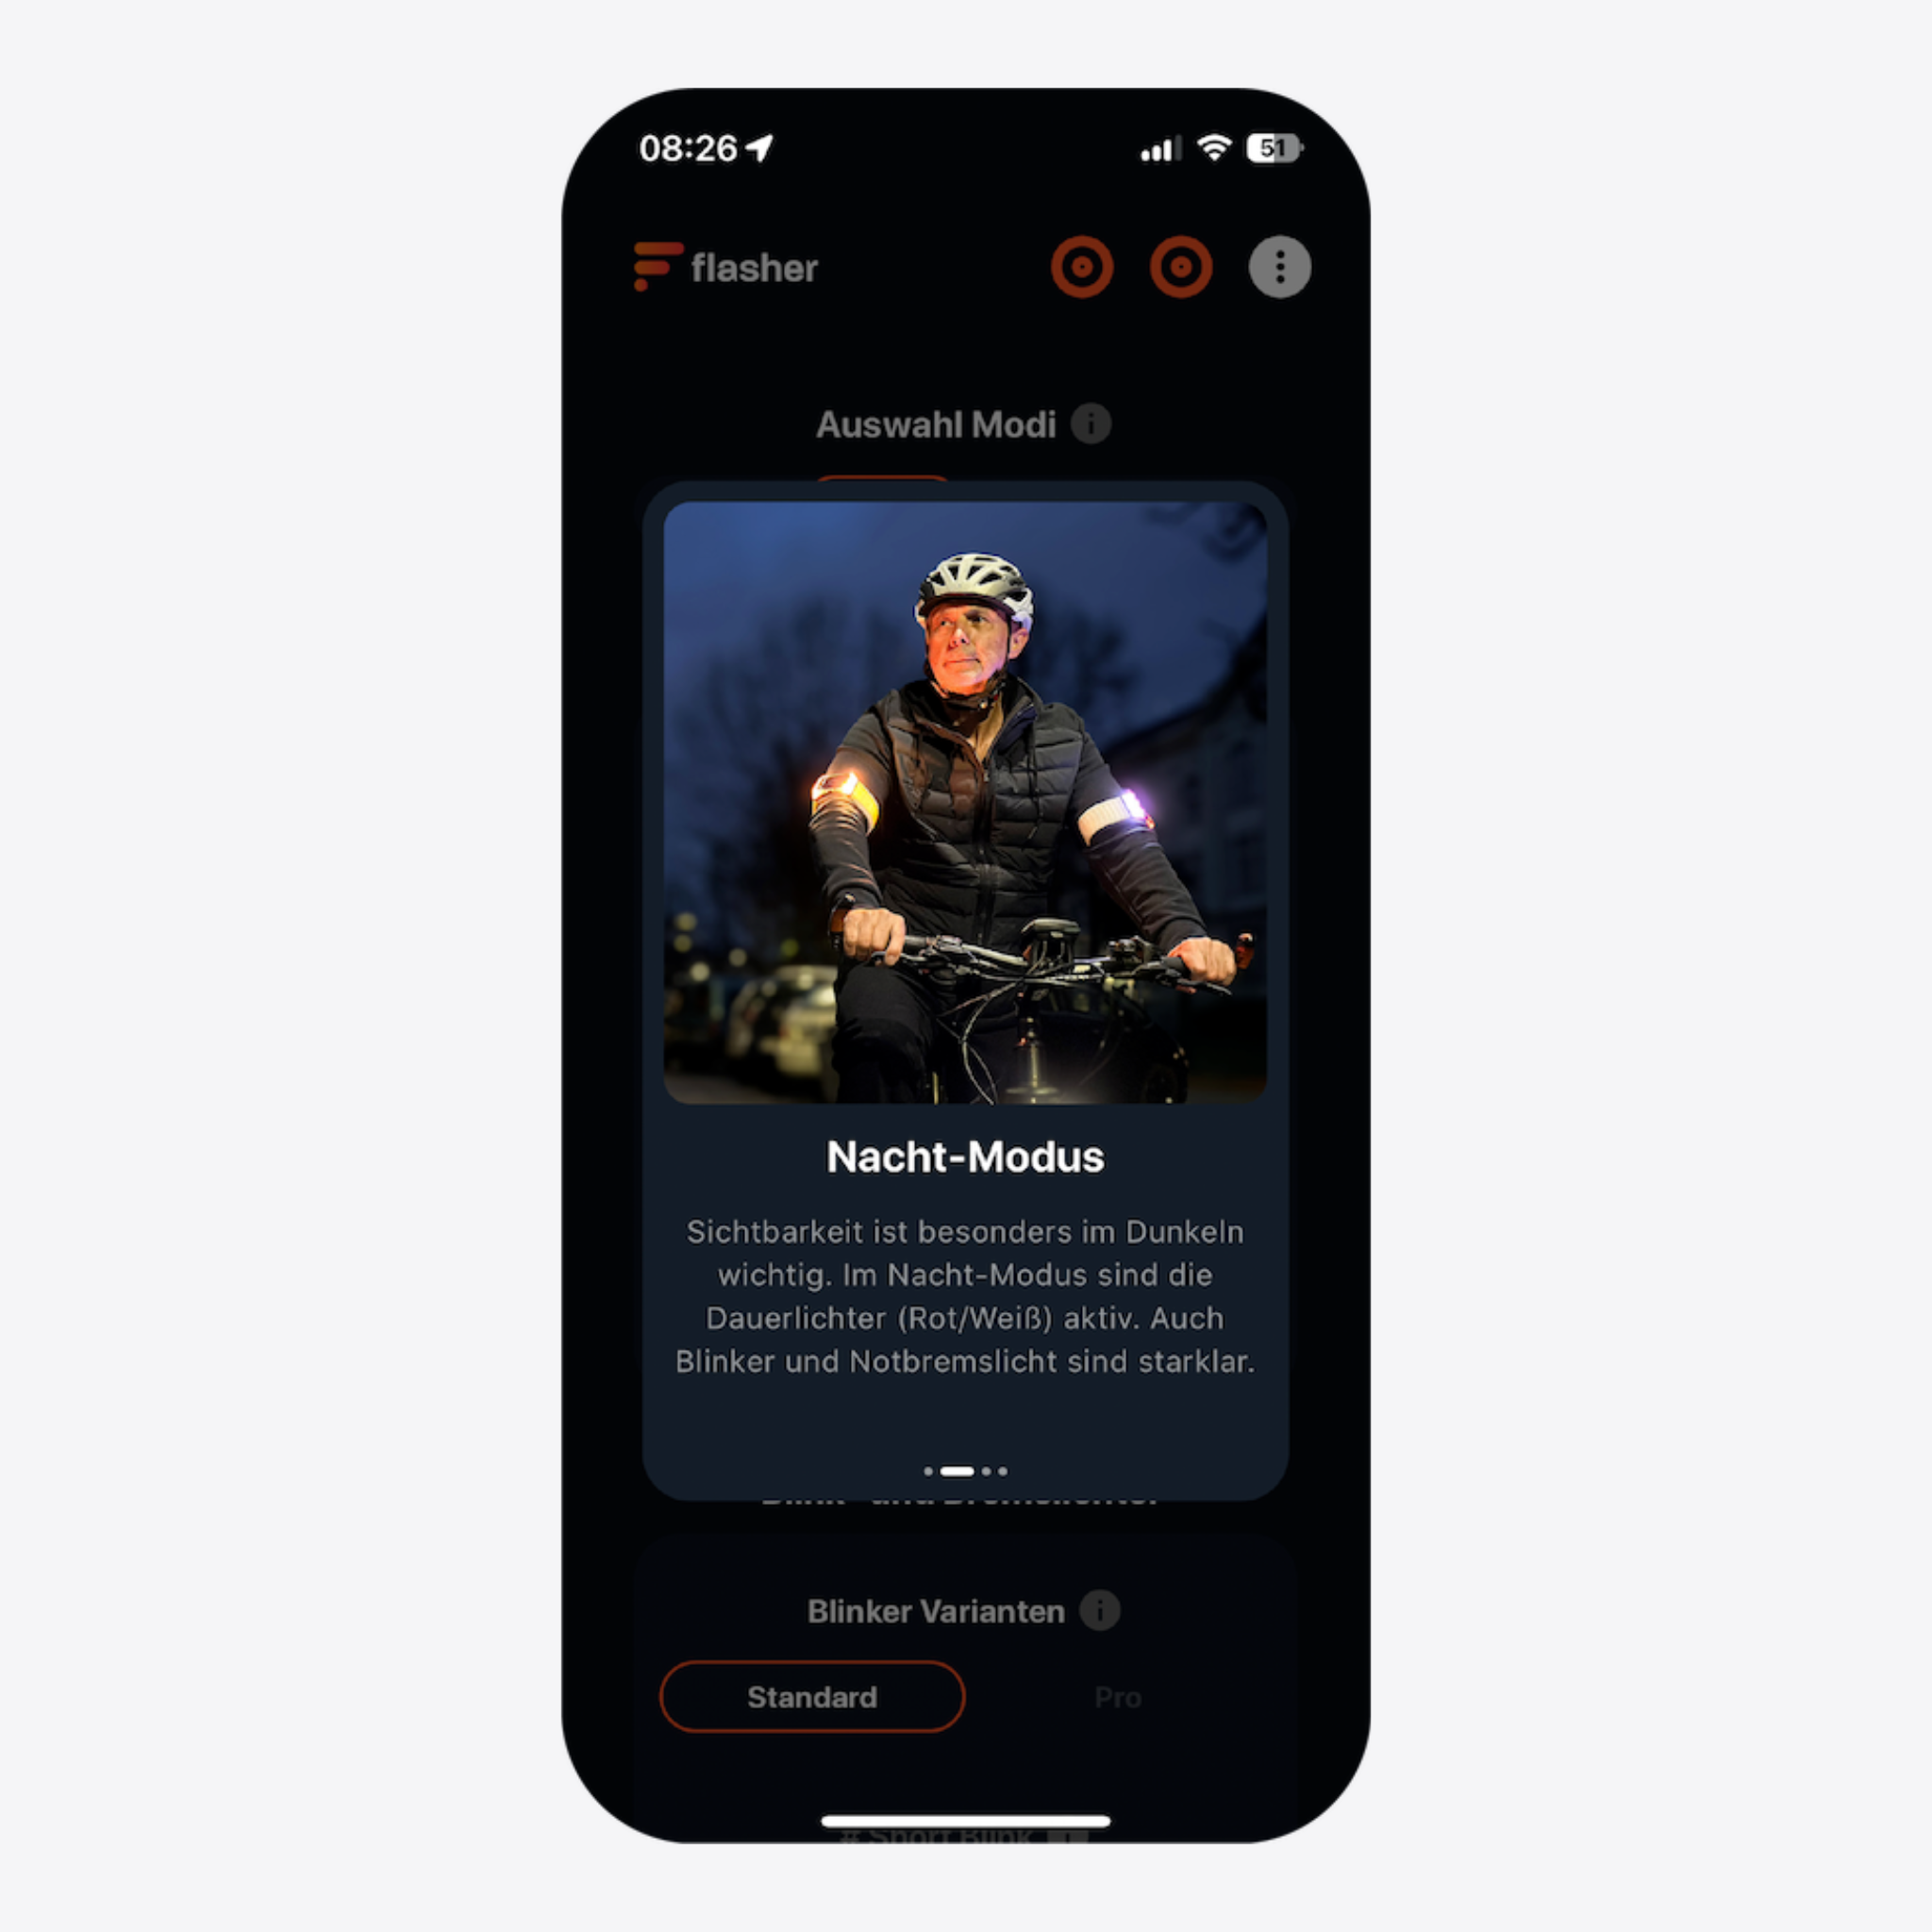
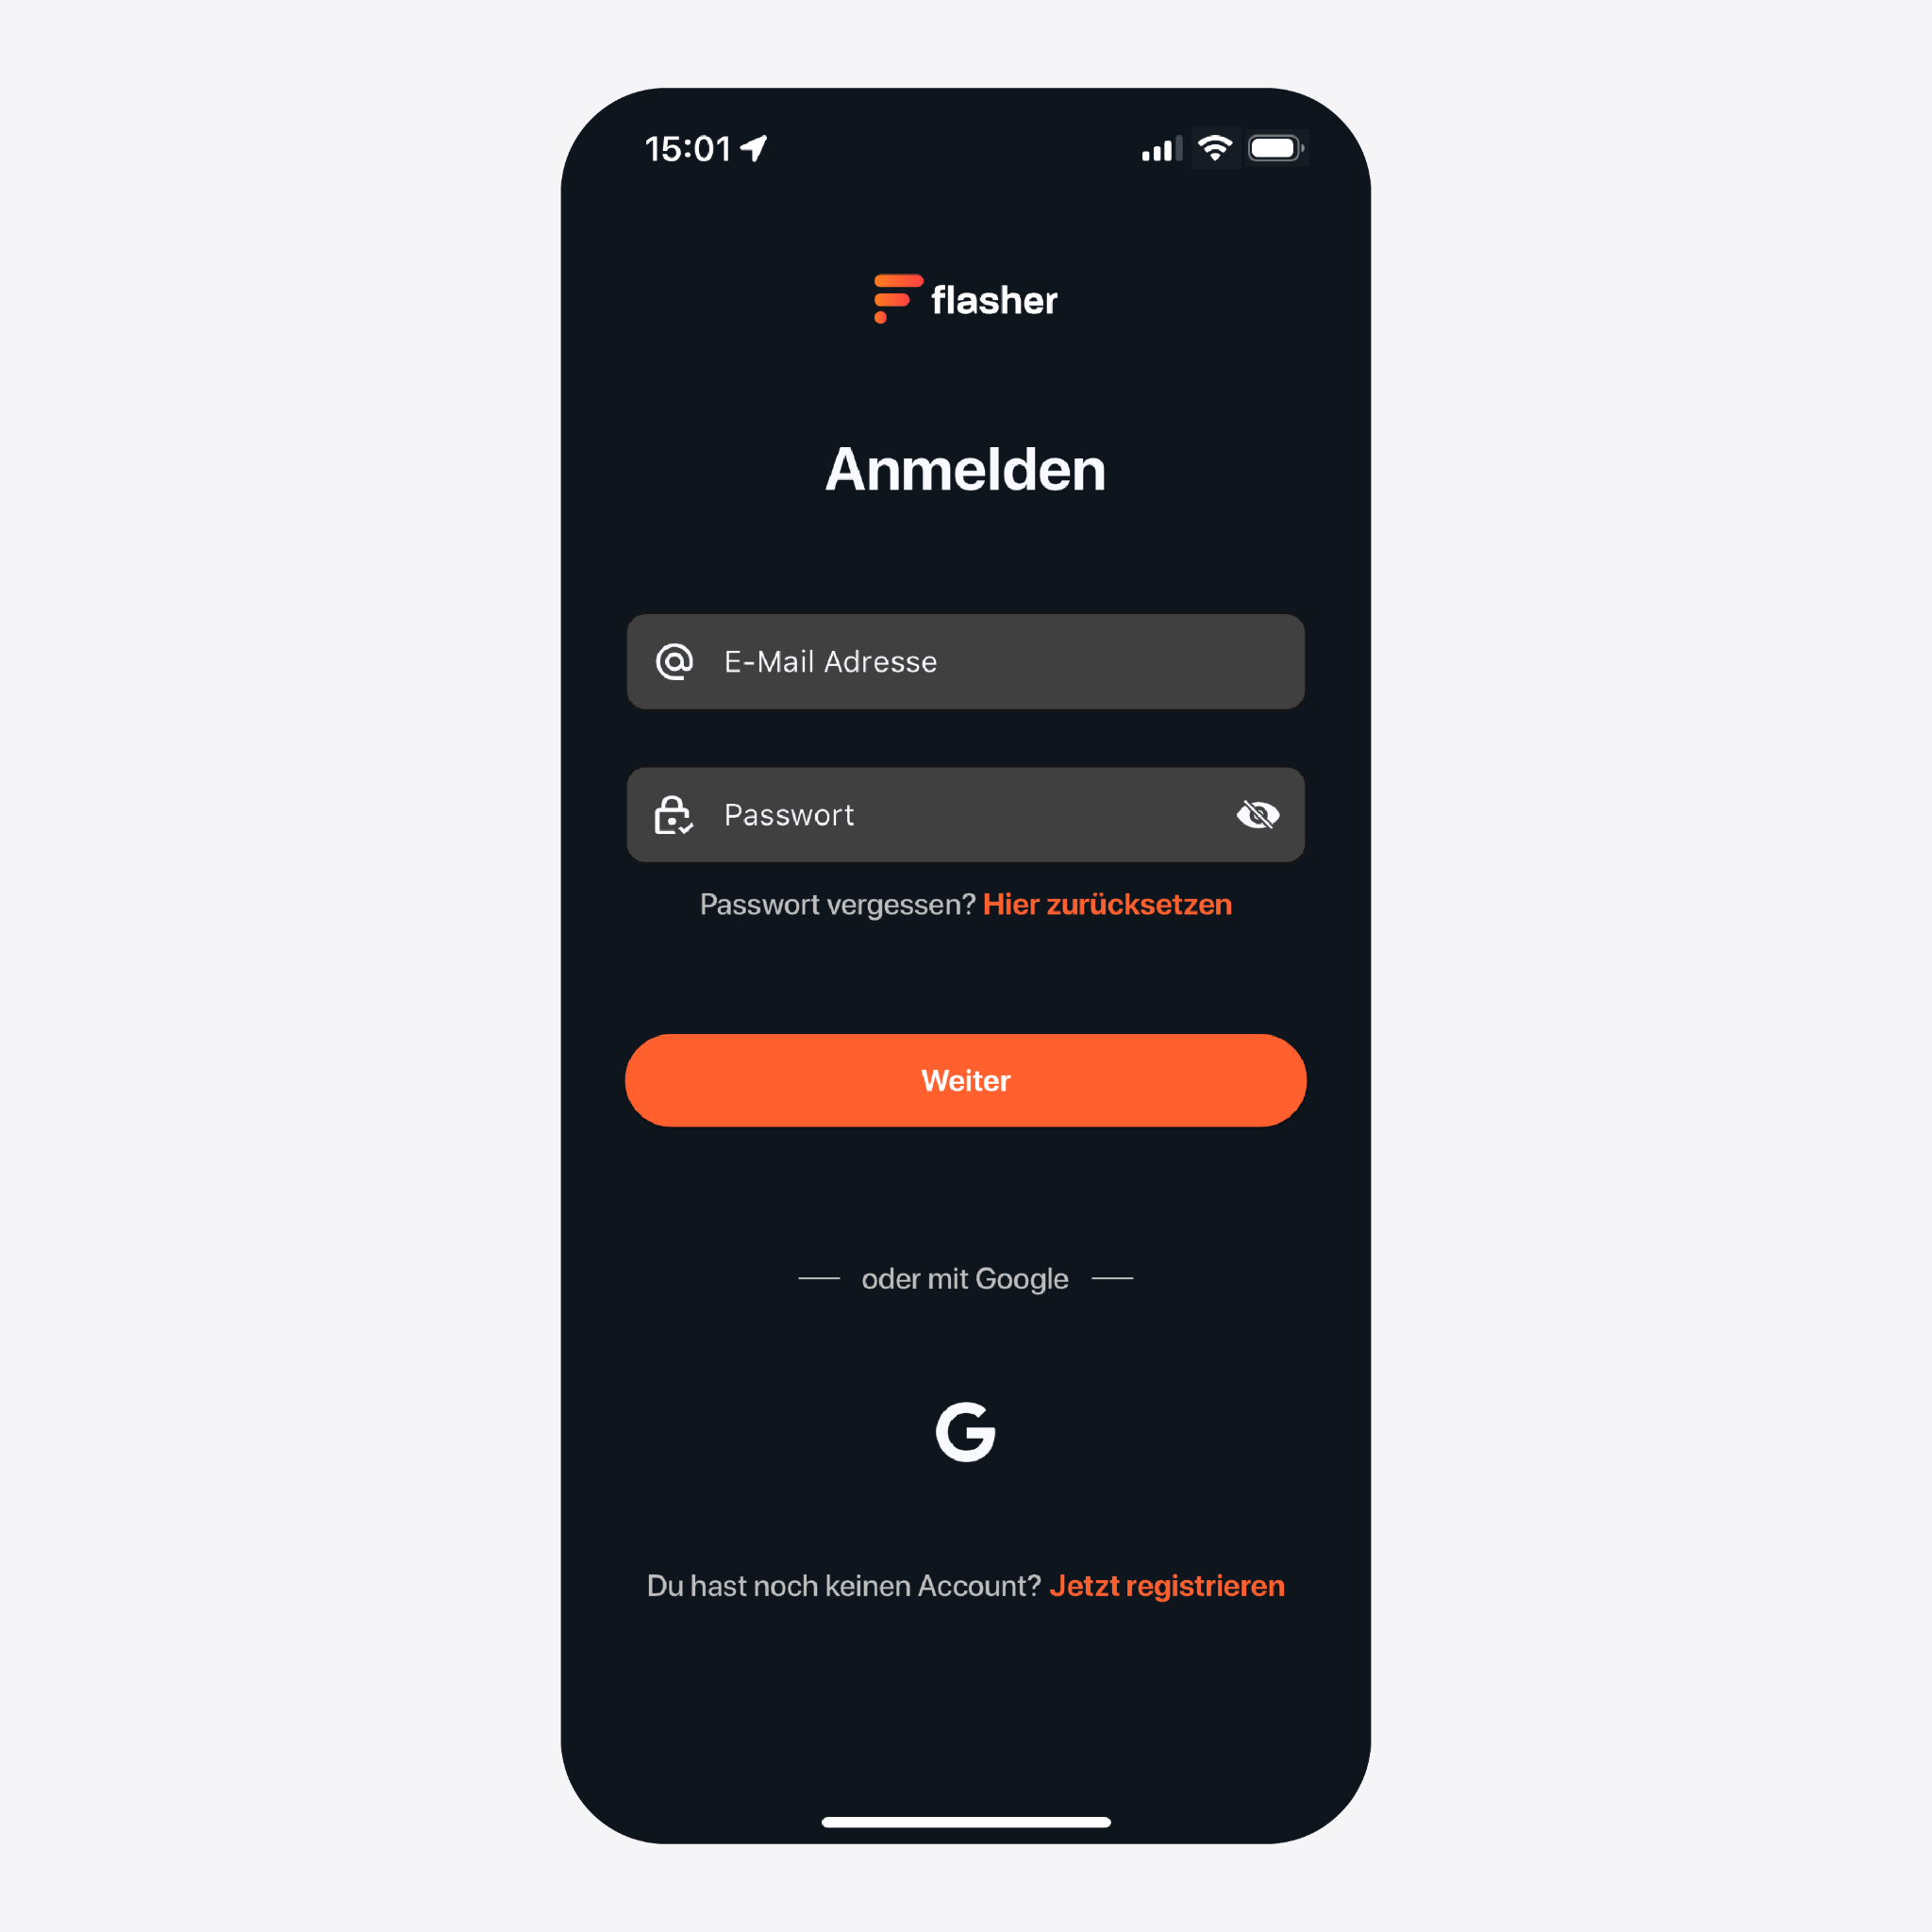
Flasher app
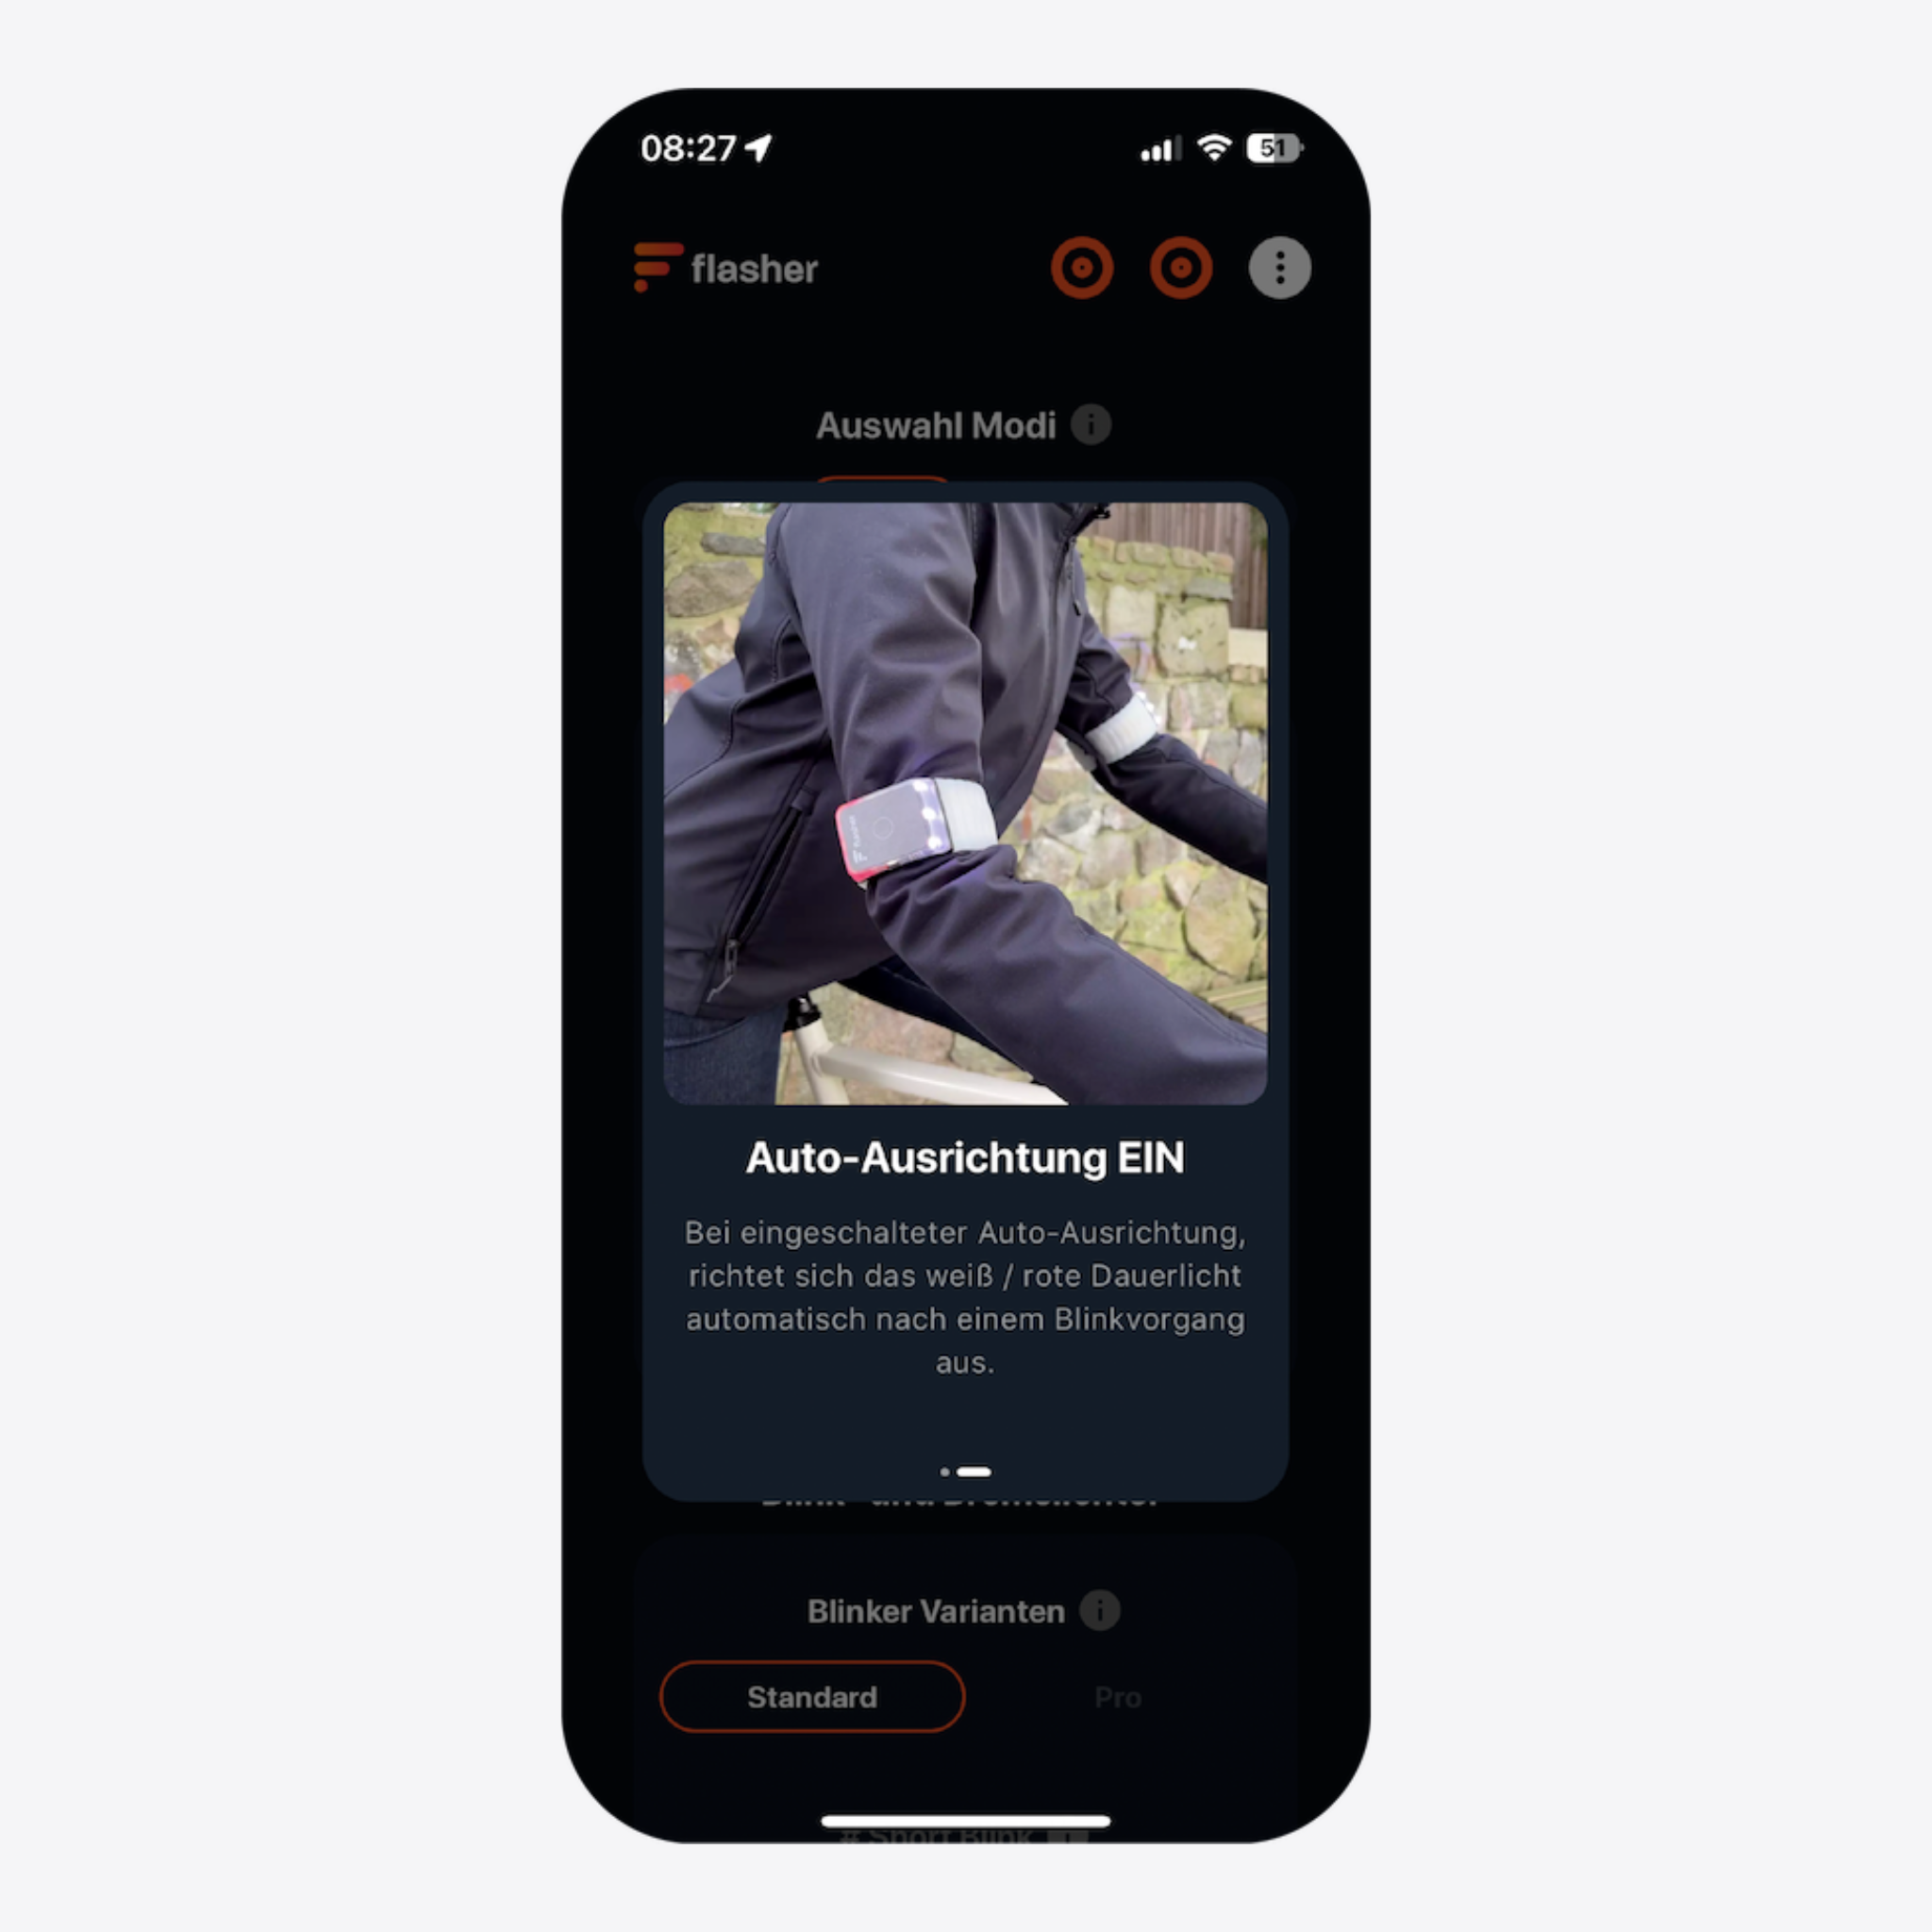
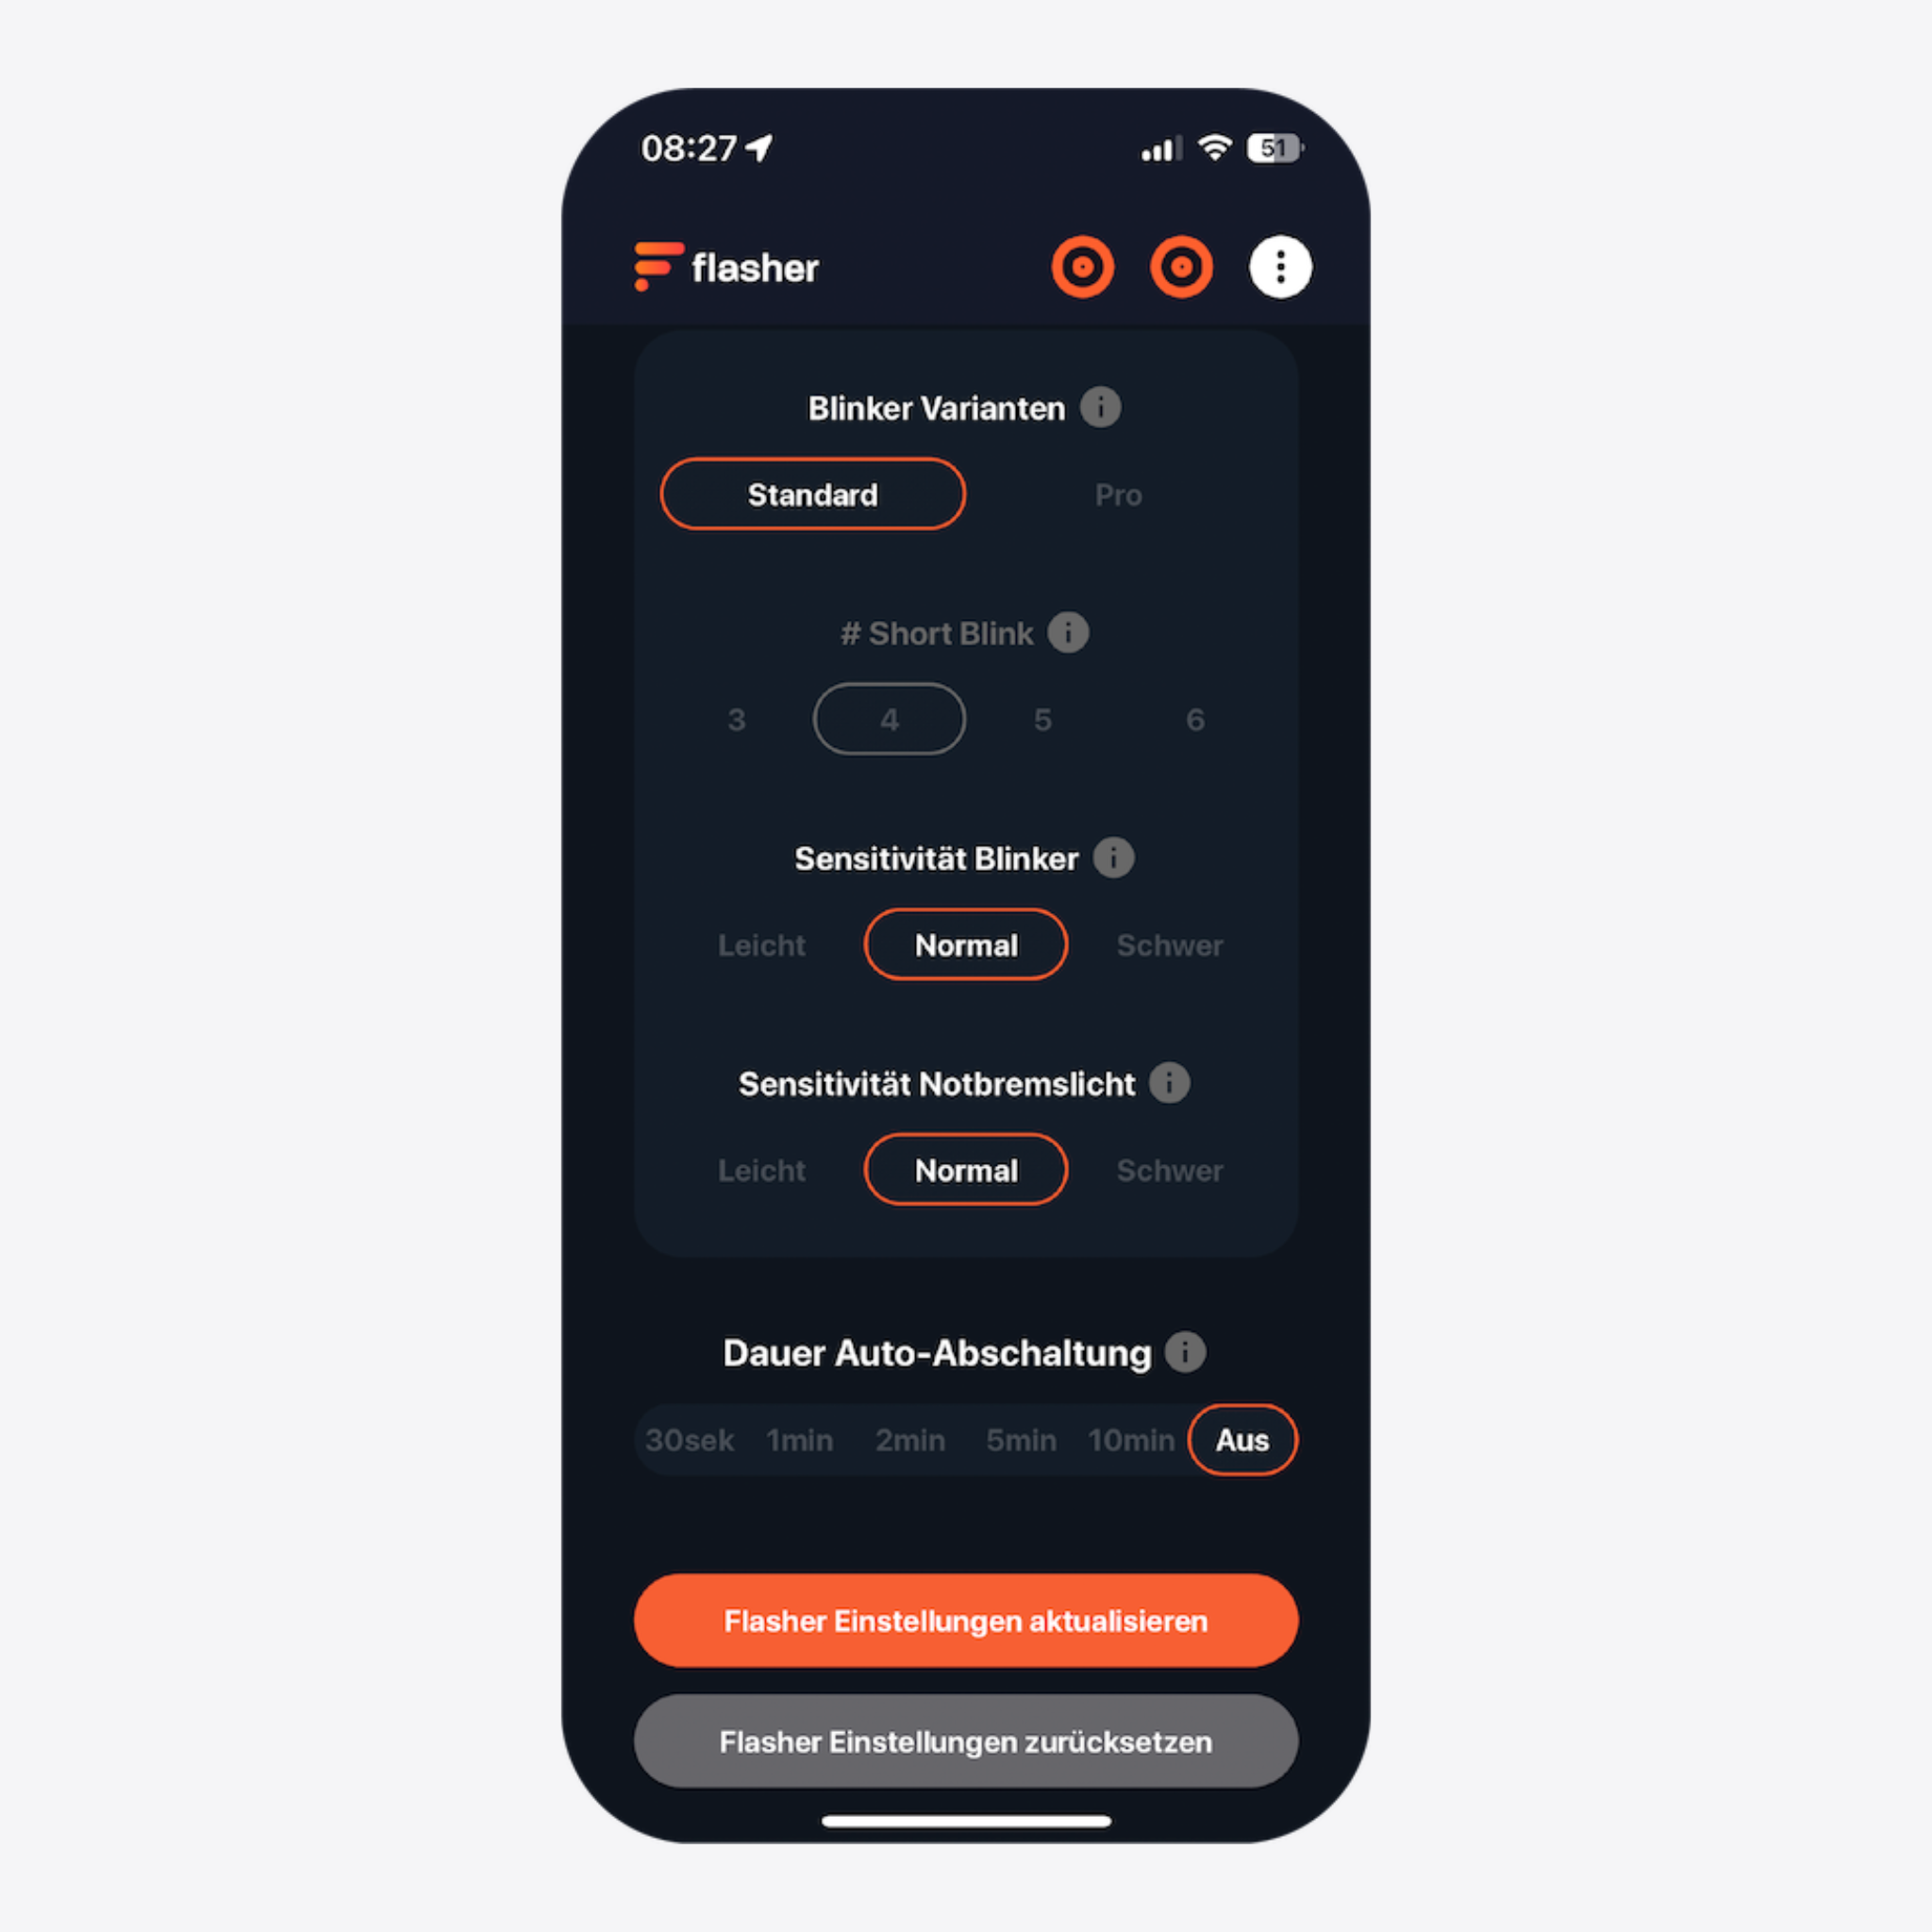
Always use the latest software and configure your wristbands exactly the way you want. The new Flasher app offers your wristbands:
- Software updates
- Personalization options
- Activation of new functions
➡️ The app also works with all existing Flasher Duos.
Video Guide – How to use Flasher
Quick start
The fastening mechanism
How to use
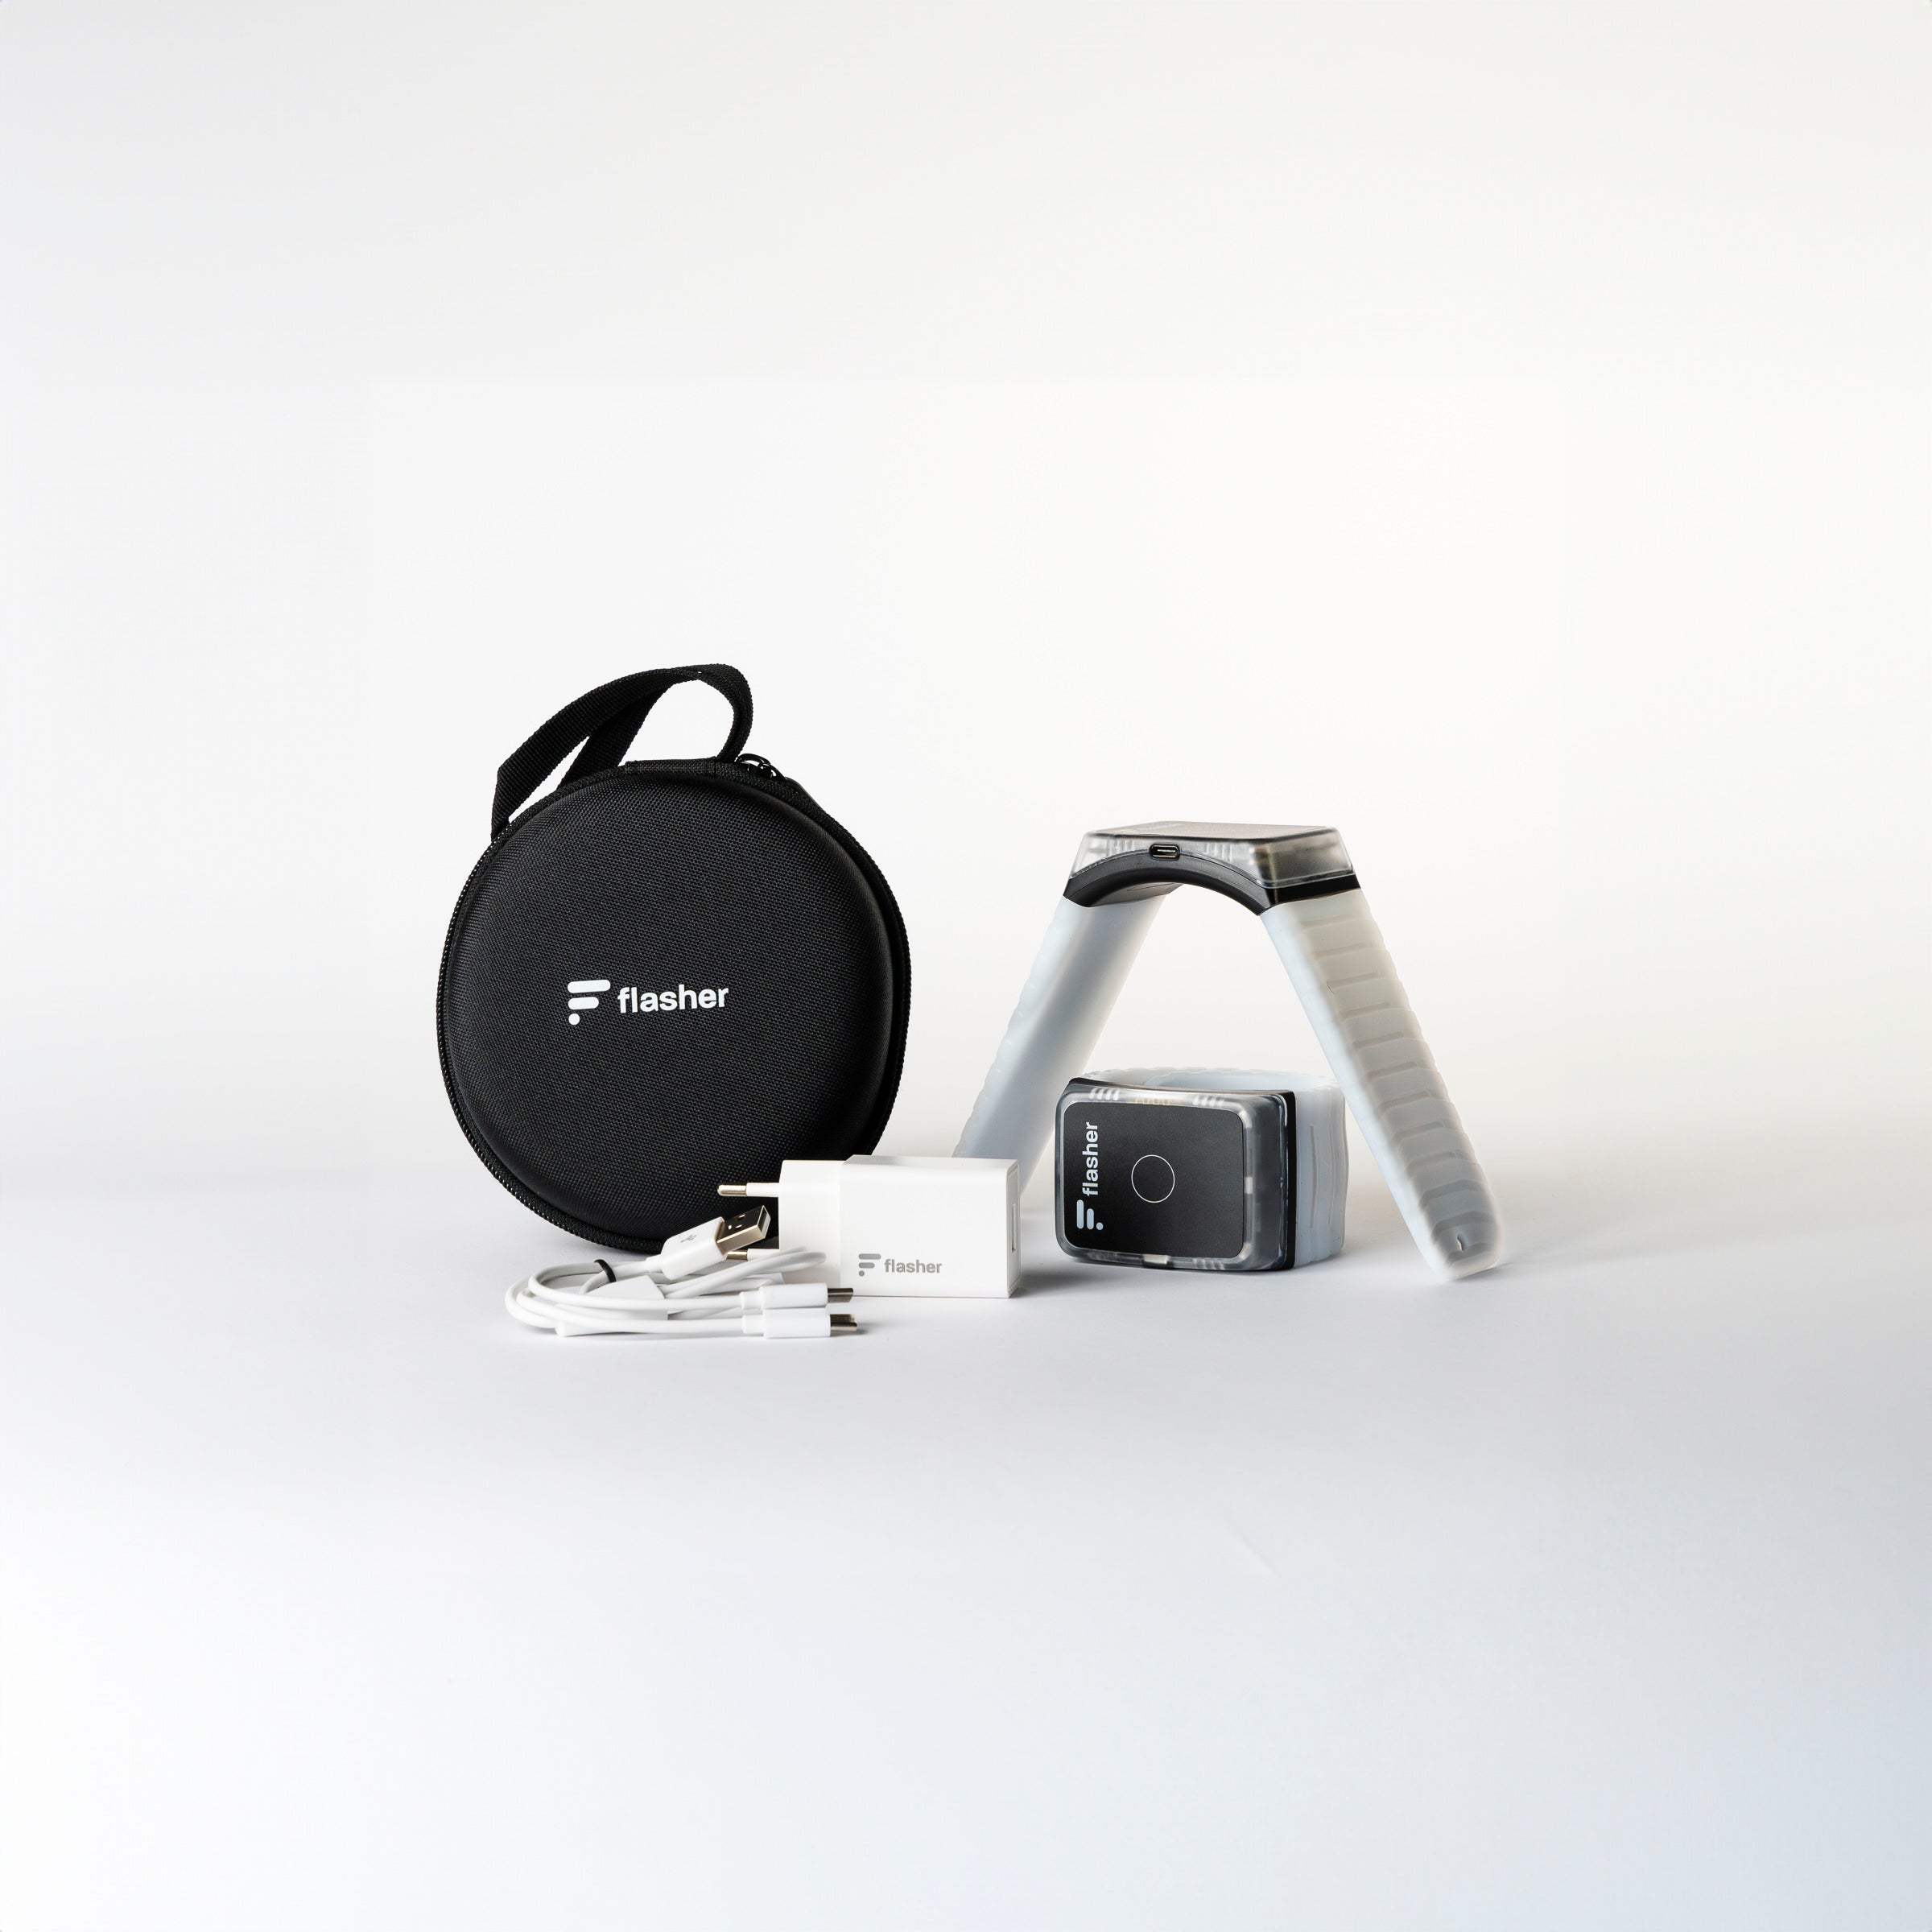
Charge
General